Cost savings with BizLink unracking solutions
The challenge:
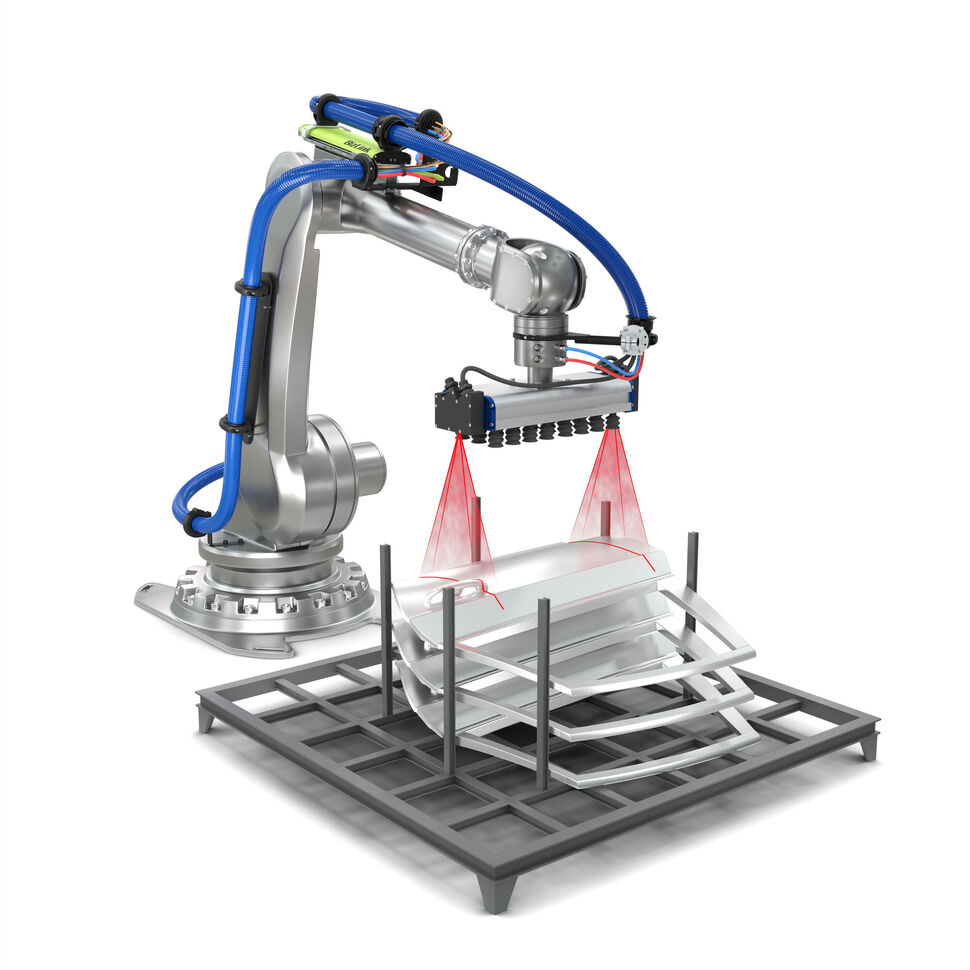
In modern production plants it is often necessary to extract parts (body side panels, roofs, hoods and similar parts) that are then delivered in bins for further processing in a fully automated fashion. To this end, industrial robots are mostly used. If the part is not exactly located where expected, the robot cannot continue its operating cycle.
The solution:
- Guidance of the robot via an electronic part-calibration system
- 6D calibration of the part position (translation and rotation) by means of laser or infrared sensors integrated within the gripper – direct connection with robot controller via field bus
- Automated adjustment of pick position – online
Your benefit:
- Cost saving in comparison to conventional mechanical systems
- Easy maintenance and ease of use
- Robot guidance independent of lighting conditions or part variations
- Minimization of training costs for users and maintenance staff
- Compact, light, robust and integrated directly into the gripper, the system can be retrofitted to the production line without time-consuming modifications
Correction takes place directly and automatically in the ongoing production process. During setup the correct part position is learned automatically.
Easy to understand – short instruction time and ease of use.
Advantages at a glance
Integration
- Automatic calculation of the gripping position of parts for unracking applications
- Auto-commissioning and ease of use
- Sensor integration in the gripper
- Scalable modular system easily adapts to individual unracking applications
- Reduction of costs:
– Prevents part damage
– Ensures exact gripping position
– Shortens setup times
- Calibration controller calculates part position and transfers the offsets to the robot controller via the field bus interface:
– High process reliability
– No additional PC‘s required
– Logging of calibration data - Automatic correction of pick-up position
- Easy crash recovery
Integration of the unracking calibration system in the production process:
- Uncomplicated
- Reduction of robot programming to a minimum
- Fast and easy commissioning
- Logging of calibration-data: regular data evaluation possible at all times
- No additional PCs required
Scope of supply:
- Sensors installed in gripper
- advintec controller
- Cable set: power cable, sensor cable, bus cable set
- Sensor interface
- Robot program for calibration
- Commissioning and training
Technical data of the BizLink unracking solution
| Sensor type | Laser class 2 875 nm + ultrasonic |
| Interface | Field bus (DeviceNet, Profibus, Profinet, Interbus, etc.) |
| Calibration accuracy | 0.1 mm |
| Protection class | IP65/67 |
| Dirty surroundings | Yes |
| Dimensions | 6 (3 translations + 3 rotations) |
| Automatic correction | Yes |
| Fields of application | Unracking of side panels, roofs, bonnets (hoods) or similar parts |
Cost savings with BizLink gripper measurement solutions
Task:
To measure grippers or gripped parts for precision handling, e. g. for power-train applications, such as engine and transmission parts.
Solution:
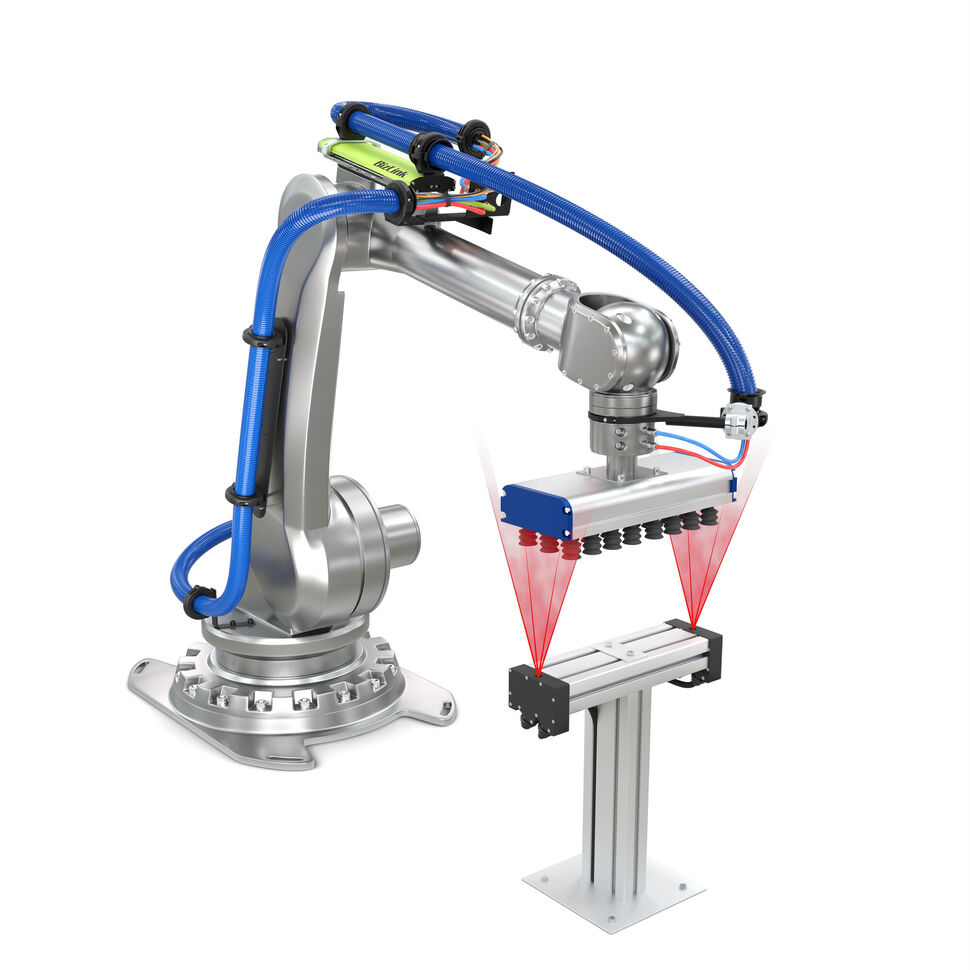
- 6D laser measurement of grippers / gripped parts using stationary sensors.
- Changes in the gripper / part position are detected early and corrected online. This avoids collisions and optimises precision positioning.
Your benefit:
- High precision 6D laser measurement
– No calibration tools or reference parts required (high cost savings) - Robot program corrections take place directly and automatically within the ongoing production process
– No failures caused by positioning factors
– Avoids collisions - Eliminates manual program corrections
- Simple to integrate and use
- Simple commissioning via supplied robot program
- High tolerance to ambient light
- Measurement time < 20 s (dependent on configuration and application)
- Cost savings compared to conventional mechanical systems
- Protection class IP67
- Suitable for harsh environments
- Use of different laser sensors – appropriate to application
Cost savings with BizLink part location solutions
Task:
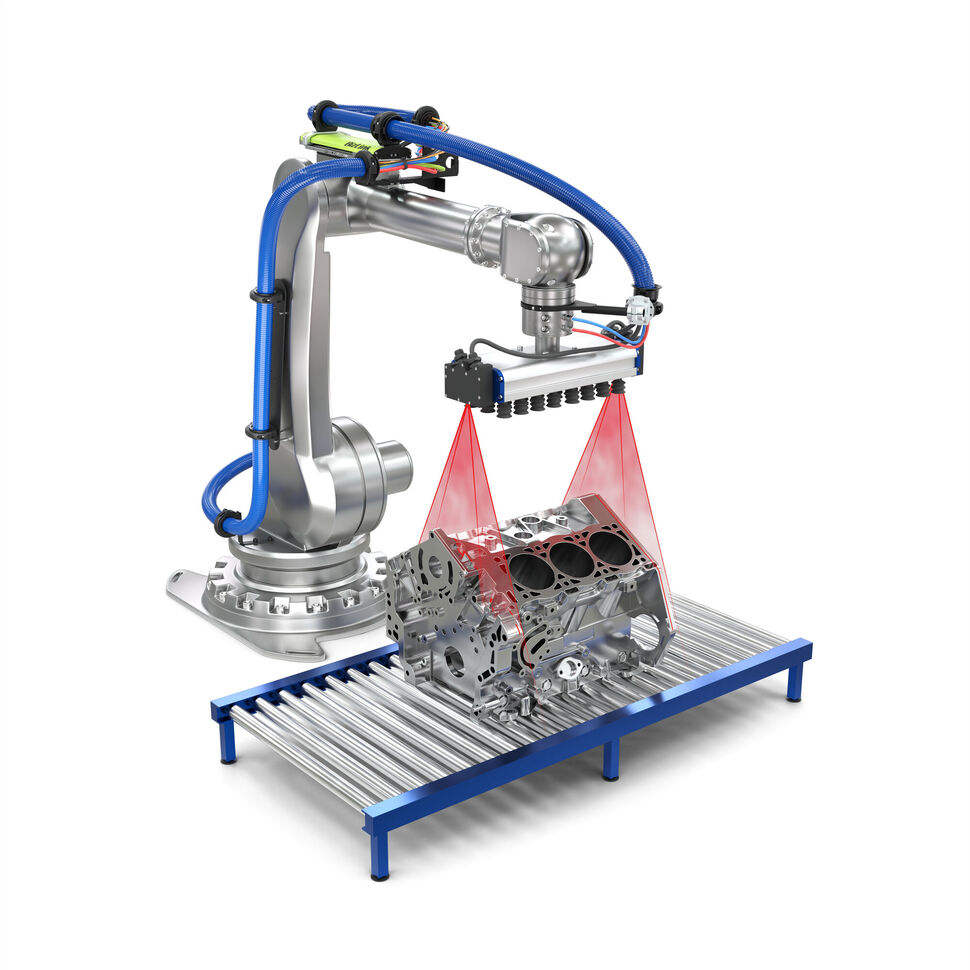
To ensure the correct processing position of parts for precision applications such as handling, welding, sealing, milling etc.
Solution:
- 6D laser measurement of the position of components and fixtures.
- The robot path is automatically corrected according to component position to ensure processing always takes place in the correct location.
Your benefit:
- High precision 6D laser measurement
– No calibration tools or reference parts required (high cost savings) - Robot program corrections take place directly and automatically within the ongoing production process
– No failures caused by positioning factors
– Avoids collisions - Eliminates manual program corrections
- Simple to integrate and use
- Simple commissioning via supplied robot program
- High tolerance to ambient light
- Measurement time < 20 s (dependent on configuration and application)
- Cost savings compared to conventional mechanical systems
- Protection class IP67
- Suitable for harsh environments
- Use of different laser sensors – appropriate to application
Publication


