Informations techniques

Afin d’exploiter nos systèmes de faisceaux de robots correctement et d’obtenir des informations supplémentaires, nous vous proposons divers documents à télécharger.

Nous proposons des informations sur notre nouveau LSH Delta ainsi que sur le LSH 3.

Si vous avez des questions, n’hésitez pas à nous contacter.


Mode d’emploi LSH 3

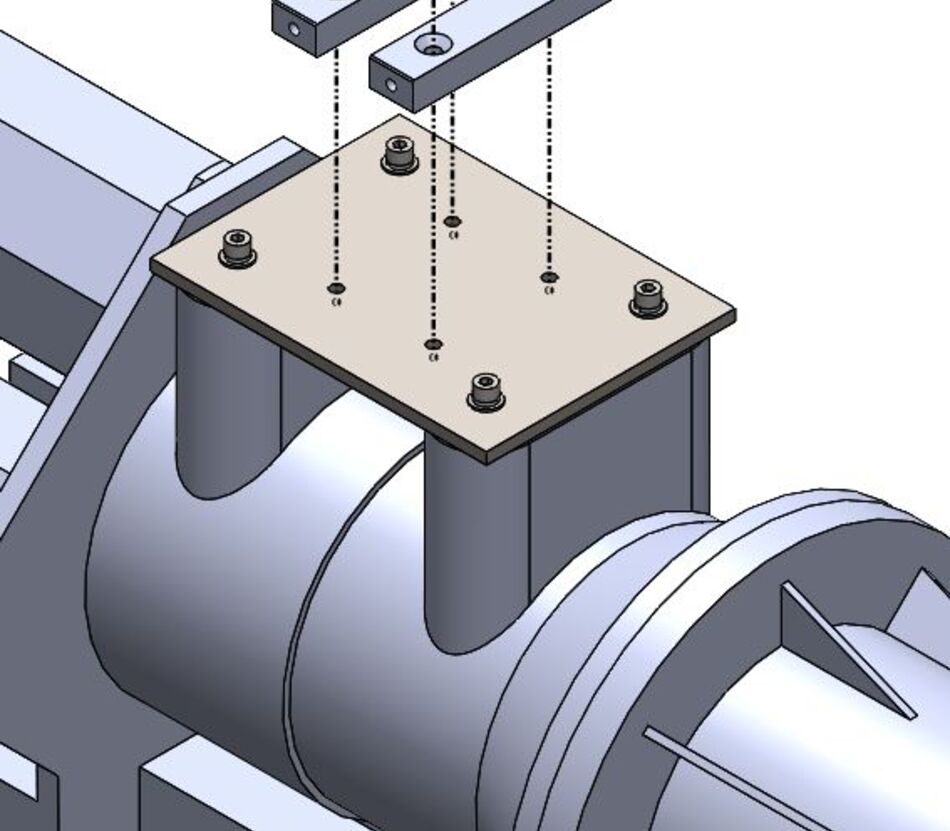
1. N’équipez le robot qu’avec les accessoires fournis pour la pose du système LSH 3.
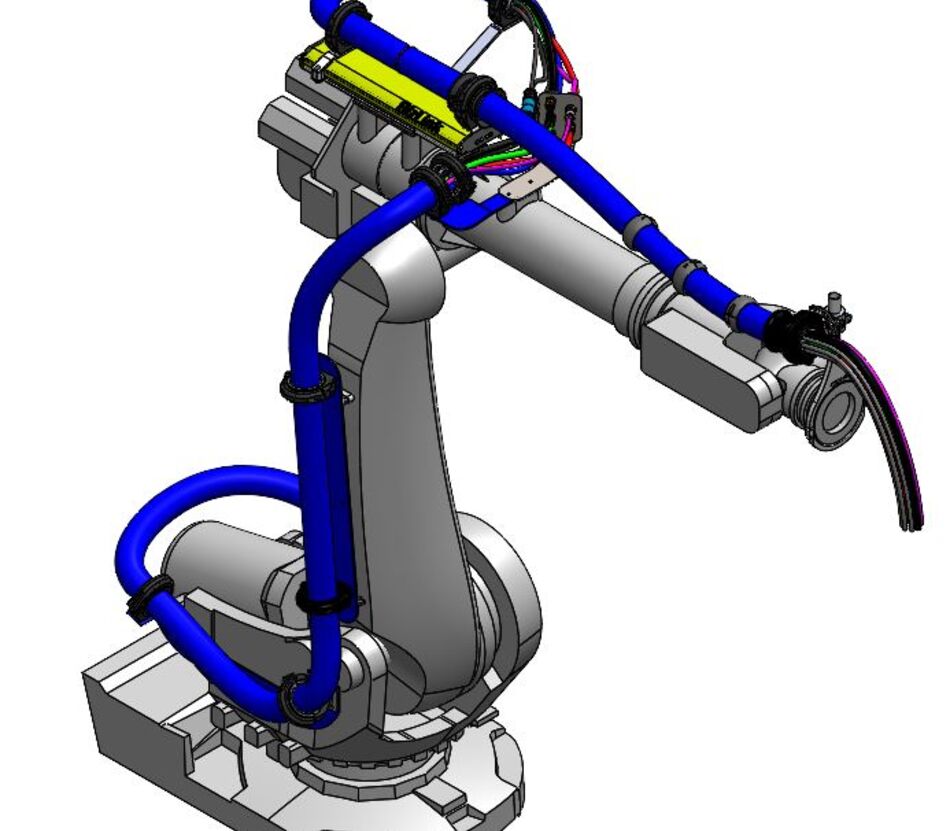
 

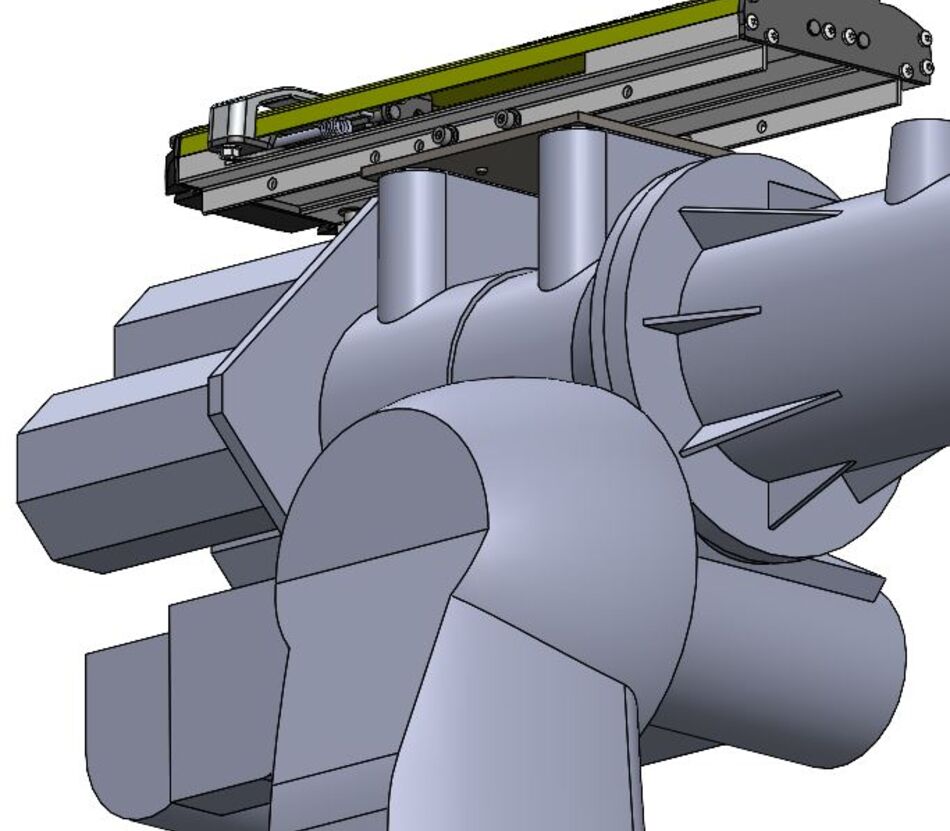
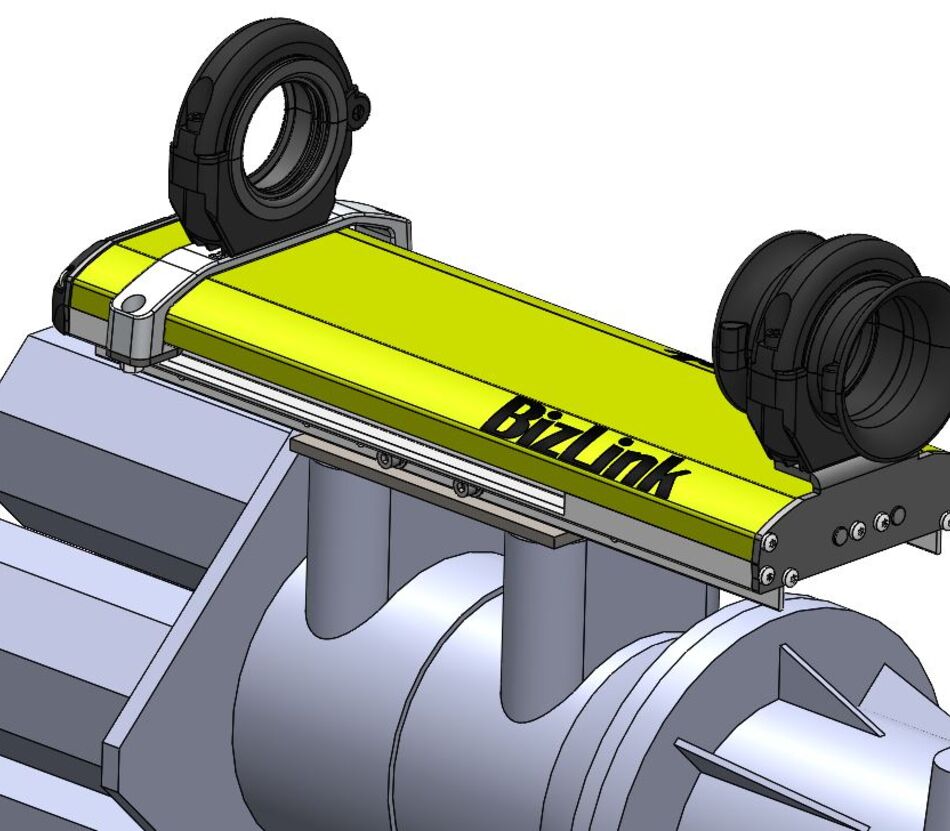
3D model of an industrial robot equipped with a BizLink robotic dresspack and LSH 3 retract system

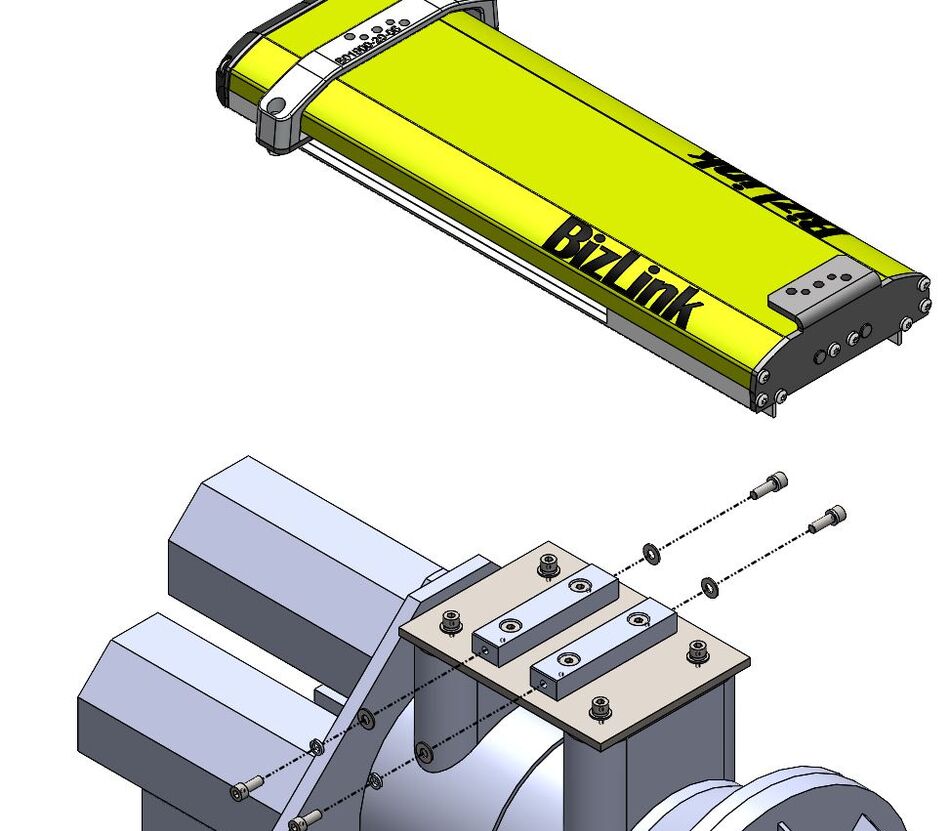
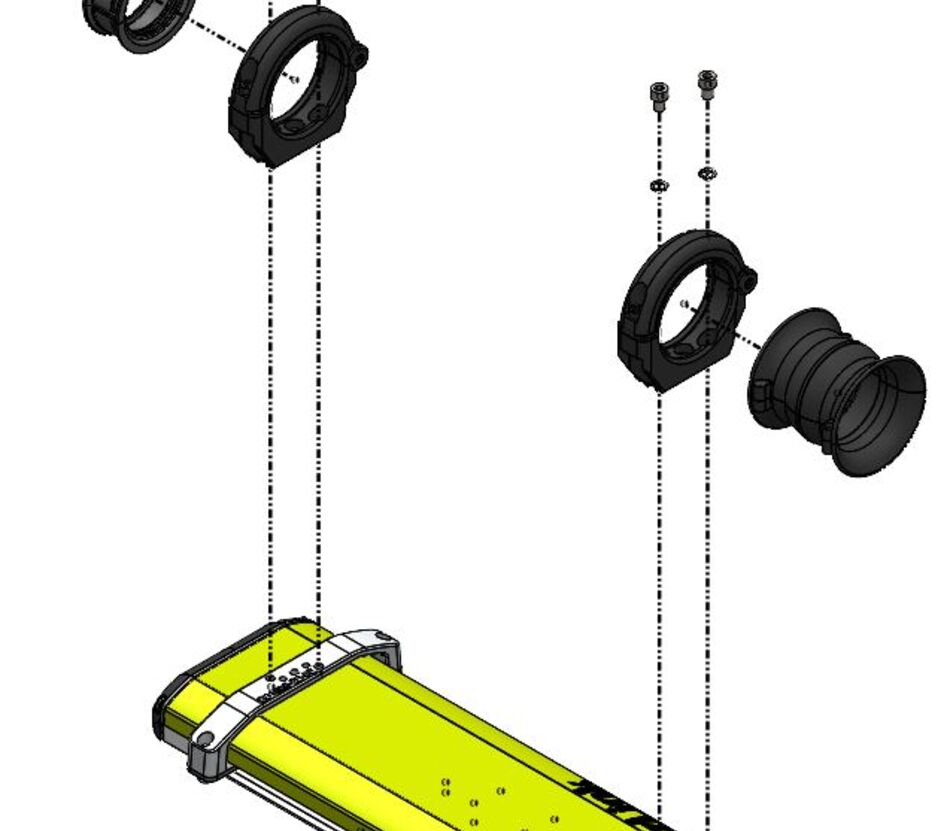
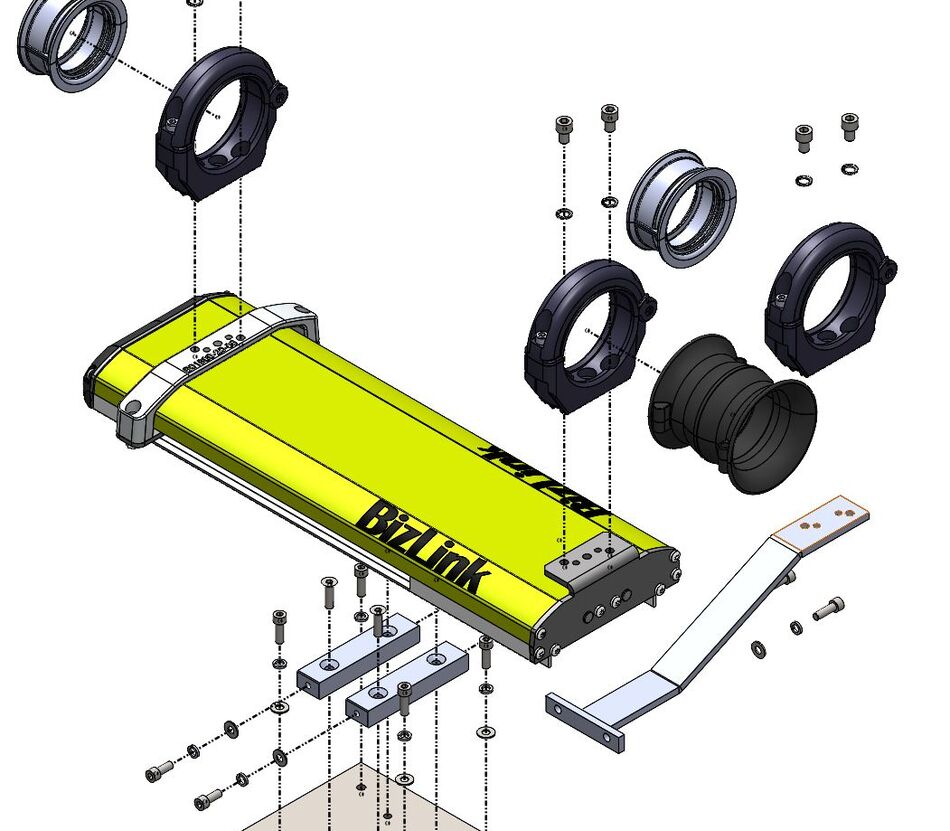
2. Utilisez les boulons, les rondelles élastiques et les rondelles plates fournis aux emplacements définis.
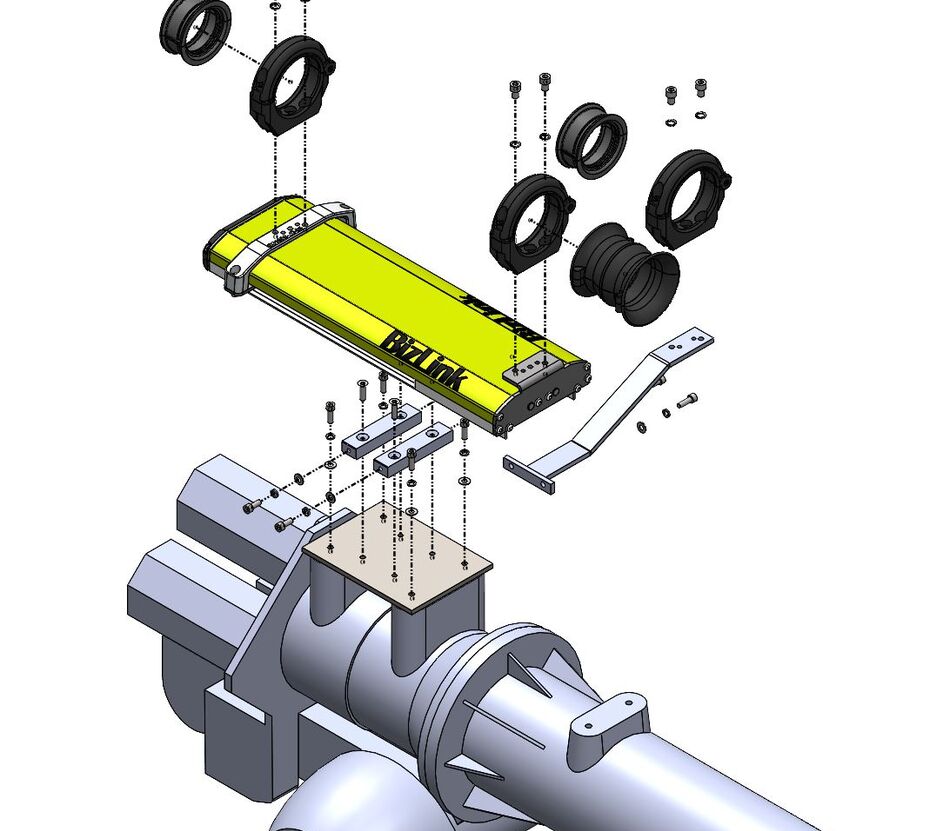
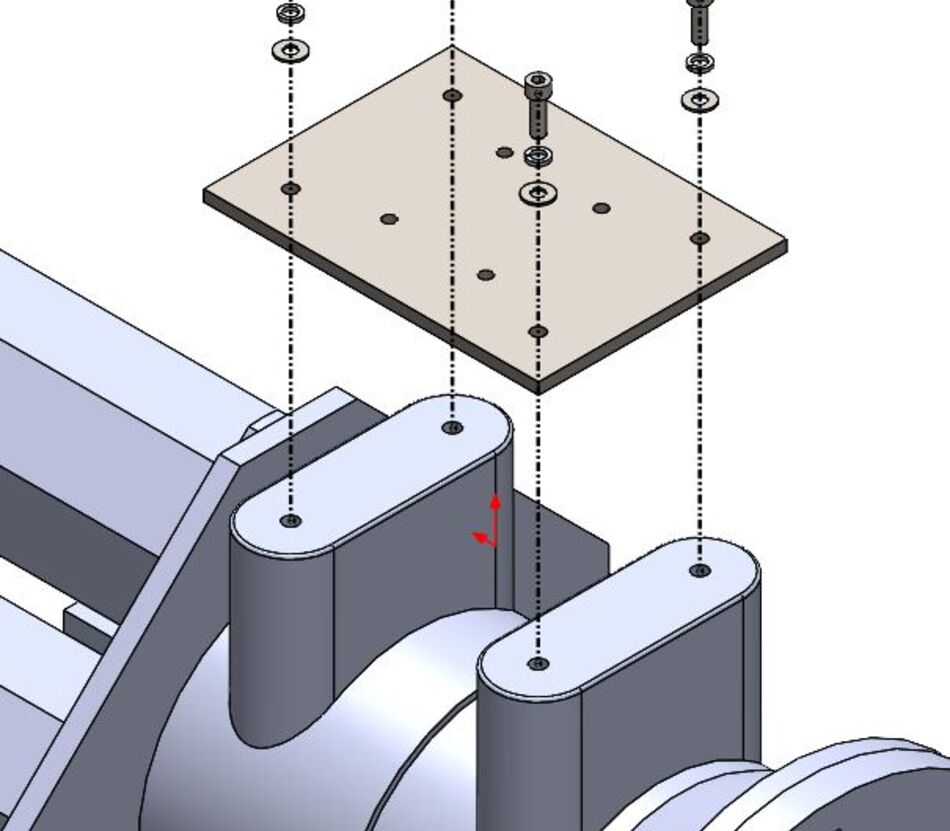
 

Exploded view of BizLink LSH robotic dresspack installation components on an industrial robot. It shows how to use provided screws, spring washer and flat washers on defined positions.
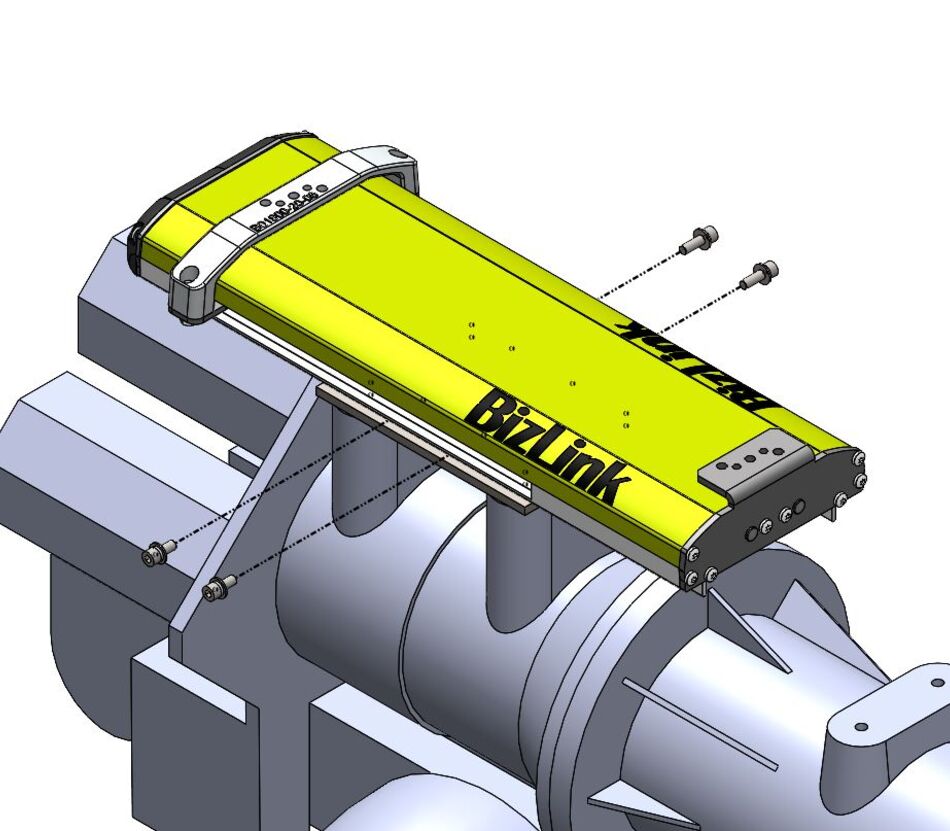
Close-up 3D model of the BizLink LSH robotic dresspack mounting system on an industrial robot
Exploded view of BizLink LSH robotic dresspack installation components on an industrial robot. It shows how to use provided screws, spring washer and flat washers on defined positions.
Close-up 3D model of the BizLink LSH robotic dresspack retract system mounted on an industrial robot

3. Utilisez les couples de serrage indiqués pour tous les boulons comme indiqué dans : DIN 912 / DIN EN ISO 4762 / ANSI B18.3.1M
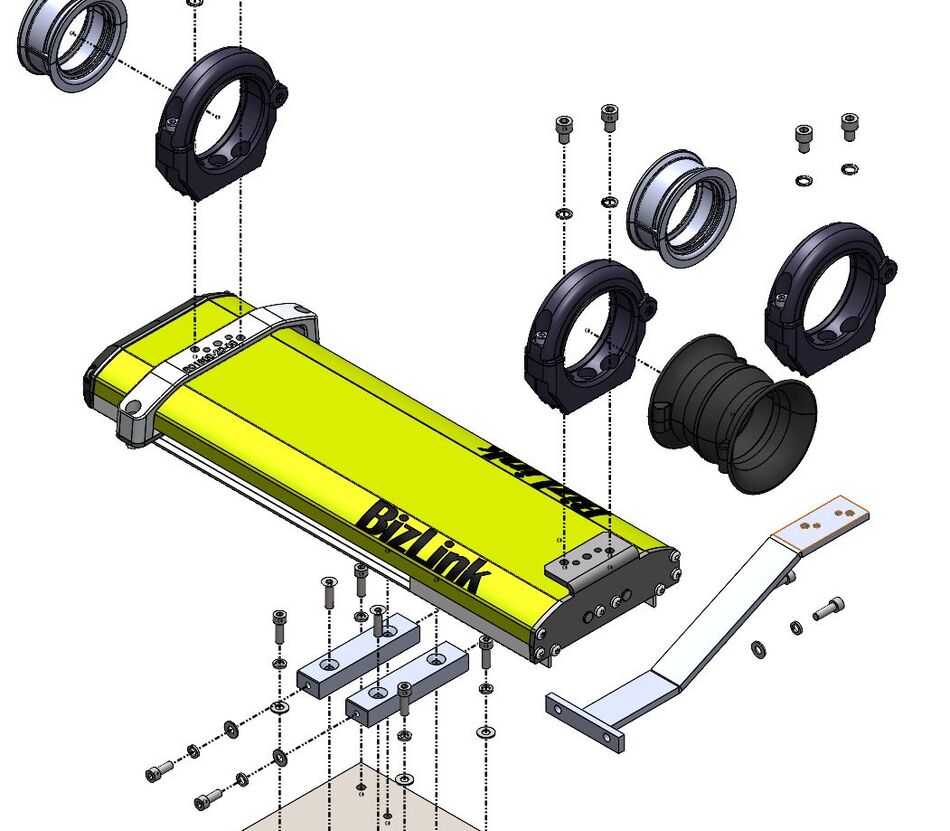
 

Exploded 3D view of BizLink LSH robotic dresspack retract system components and mounting hardware

4. Veuillez vous référer aux manuels de pose spécifiques pour les fixations des bras.
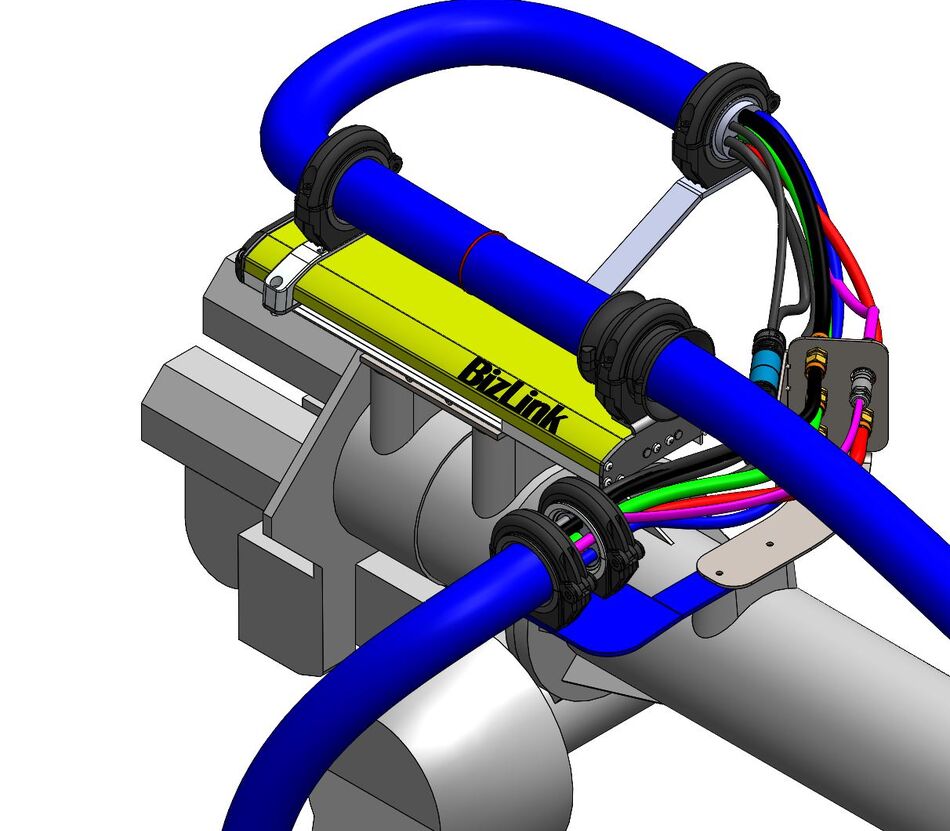
 

3D model of BizLink LSH robotic dresspack retract system with cables and protective corrugated tubes mounted on an industrial robot
Exploded 3D view of BizLink LSH robotic dresspack retract system with mounting and cable guidance components

5. Assurez-vous que la longueur de boucle entre le support arrière et l’interface J3 est correcte. Plage recommandée : 700 – 750 mm.
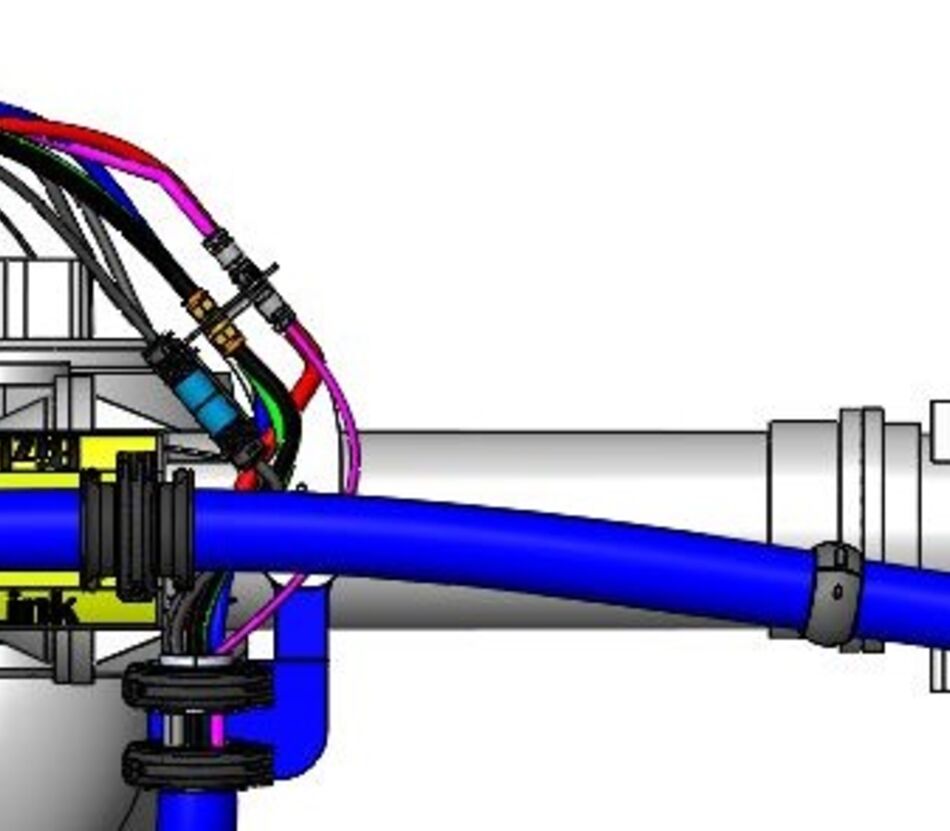
 

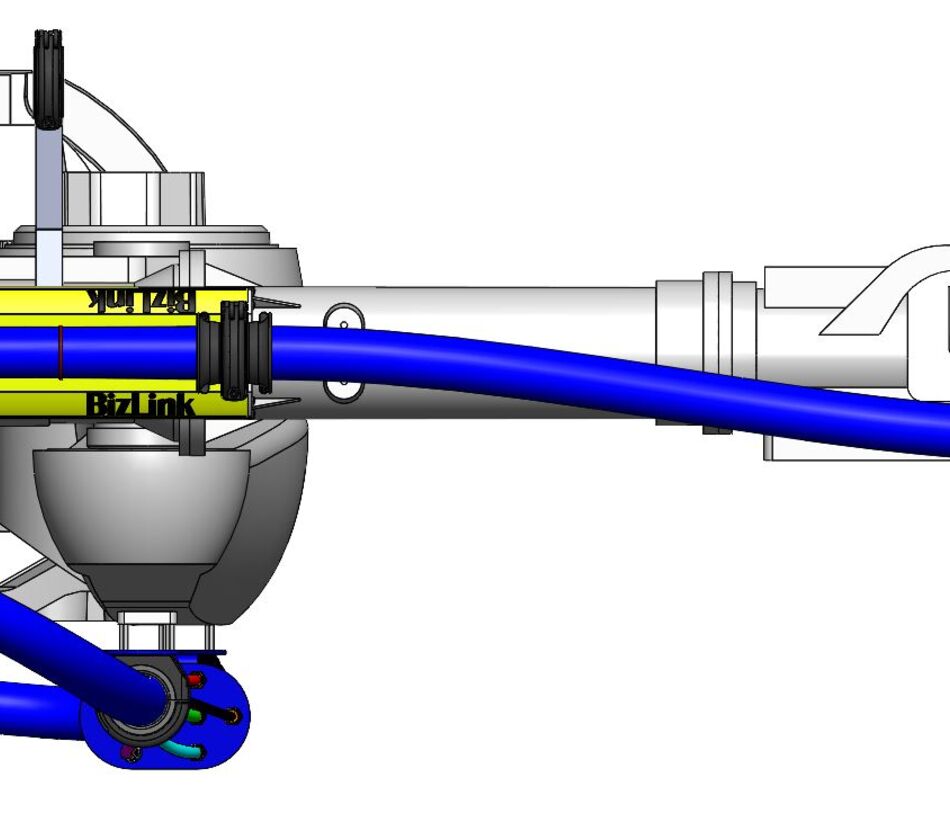
Top view of BizLink LSH robotic dresspack retract system with protective corrugated tube and cables mounted on an industrial robot
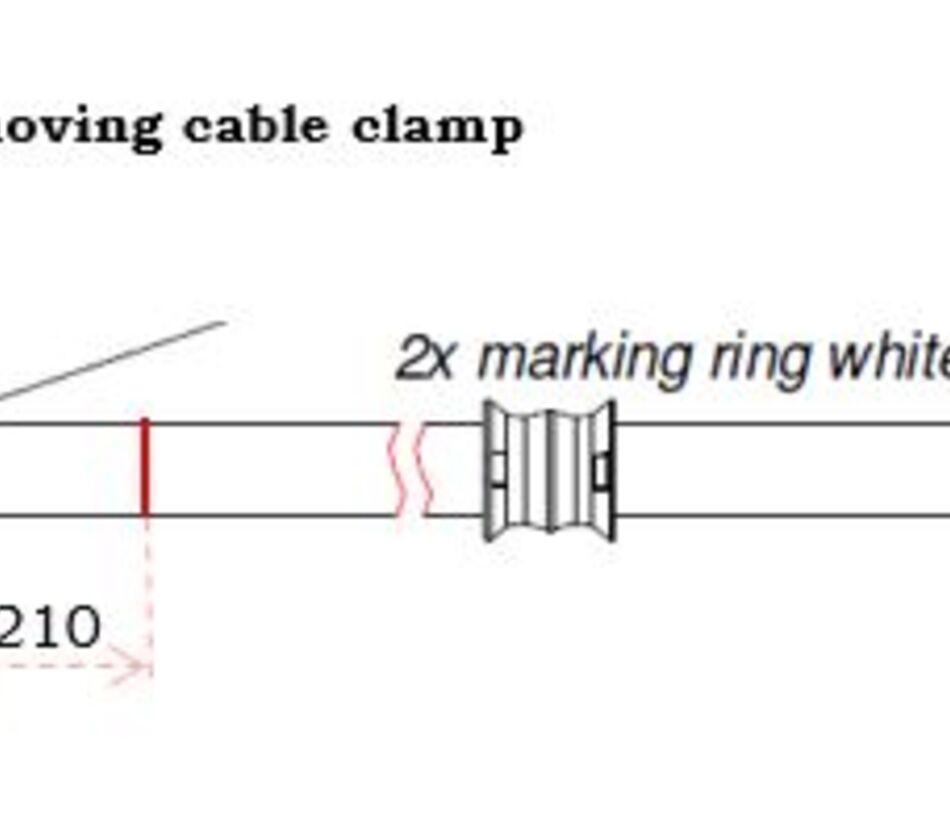
Technical drawing showing the position and dimensions of the moving cable clamp and marking rings on BizLink's robotic corrugated hose

6. Respectez la longueur de course maximale de 350 mm. Si la bague de repérage rouge apparaît devant la double trompette, la course maximale est atteinte. Ne prolongez pas davantage.
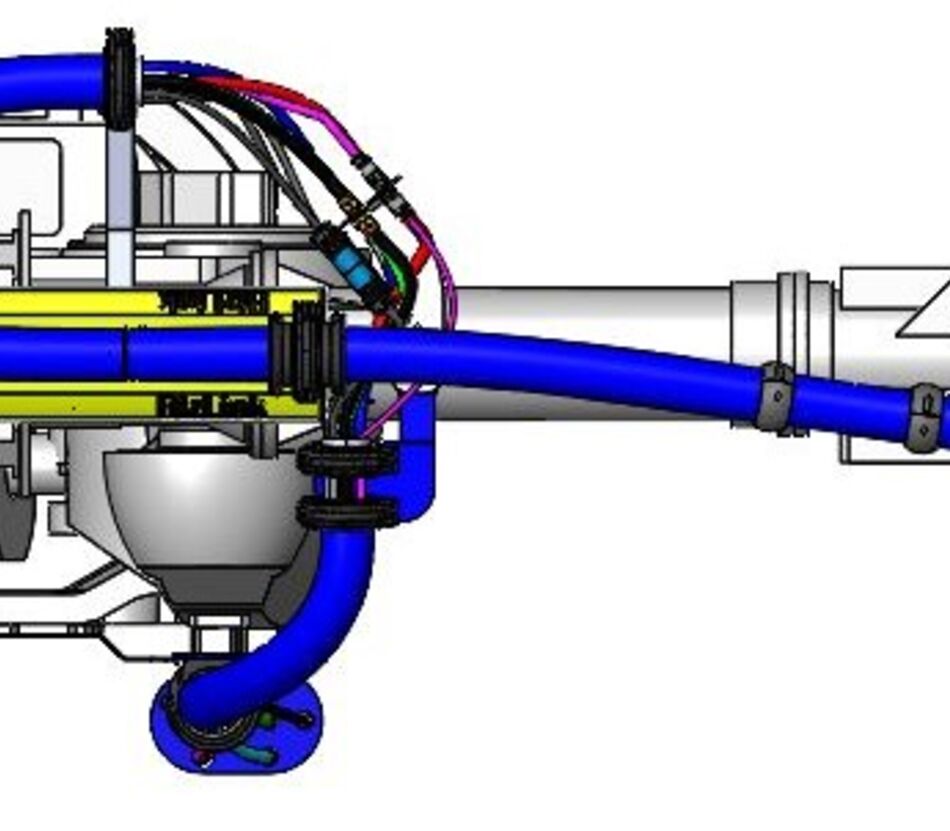
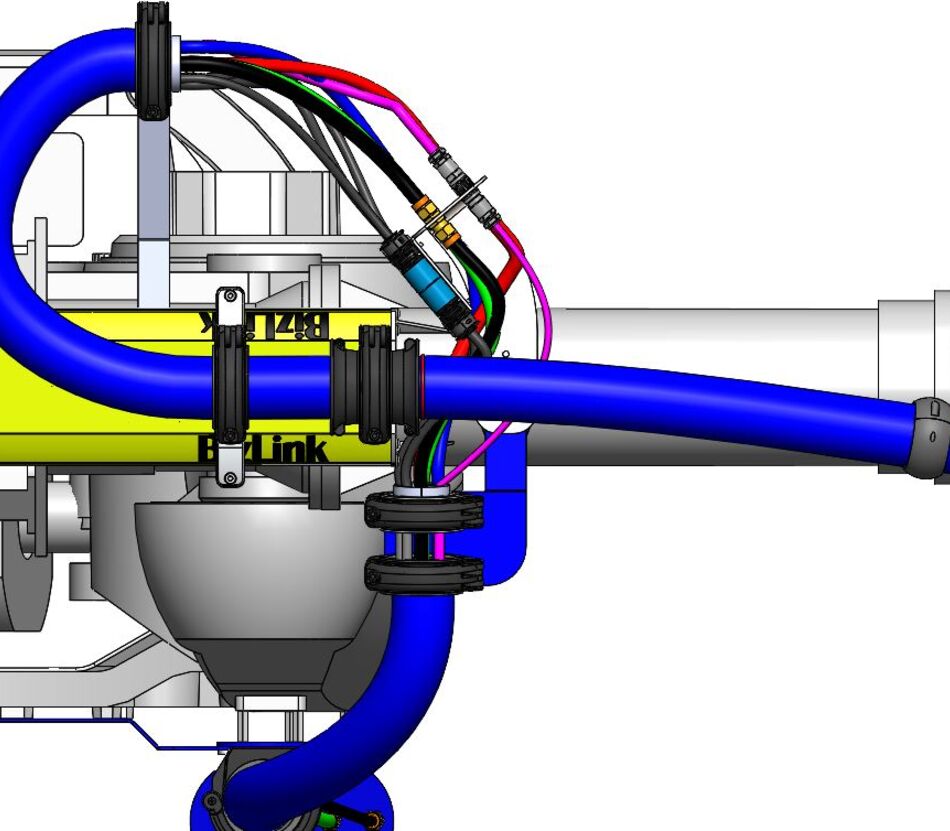
 

Top view of an industrial robot equipped with a BizLink LSH 3 retract system and robotic dresspack retract system and protective corrugated tube

7. Vérifiez que l’ensemble du système LSH 3 se trouve à une distance suffisante des périphériques pour manœuvrer librement.
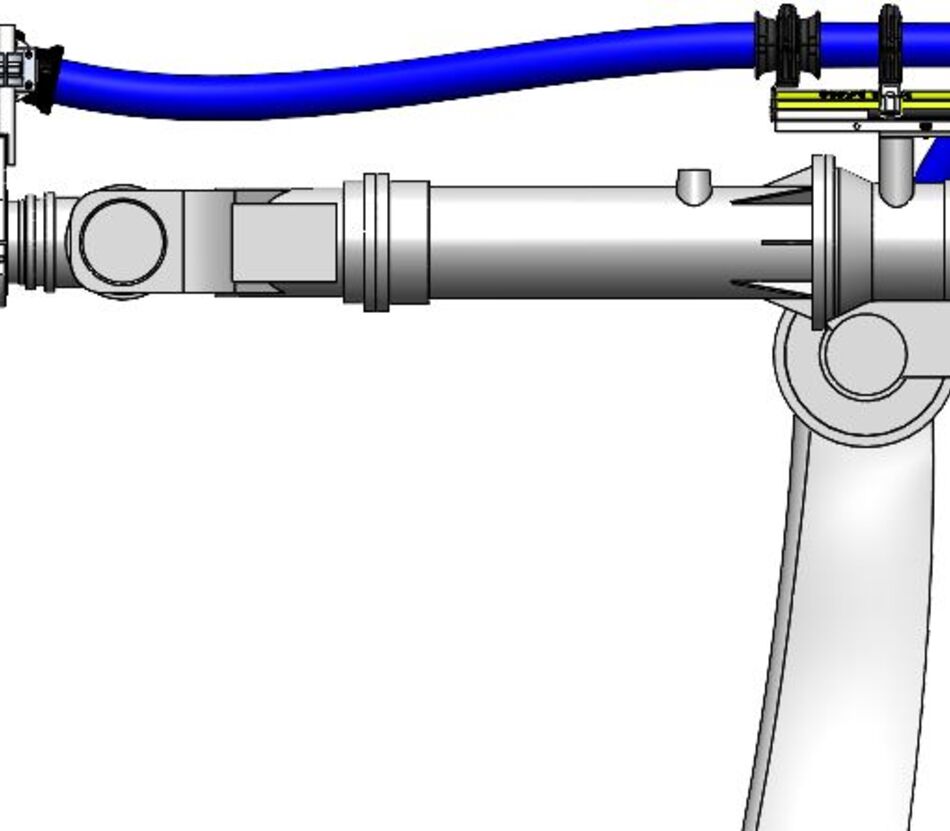
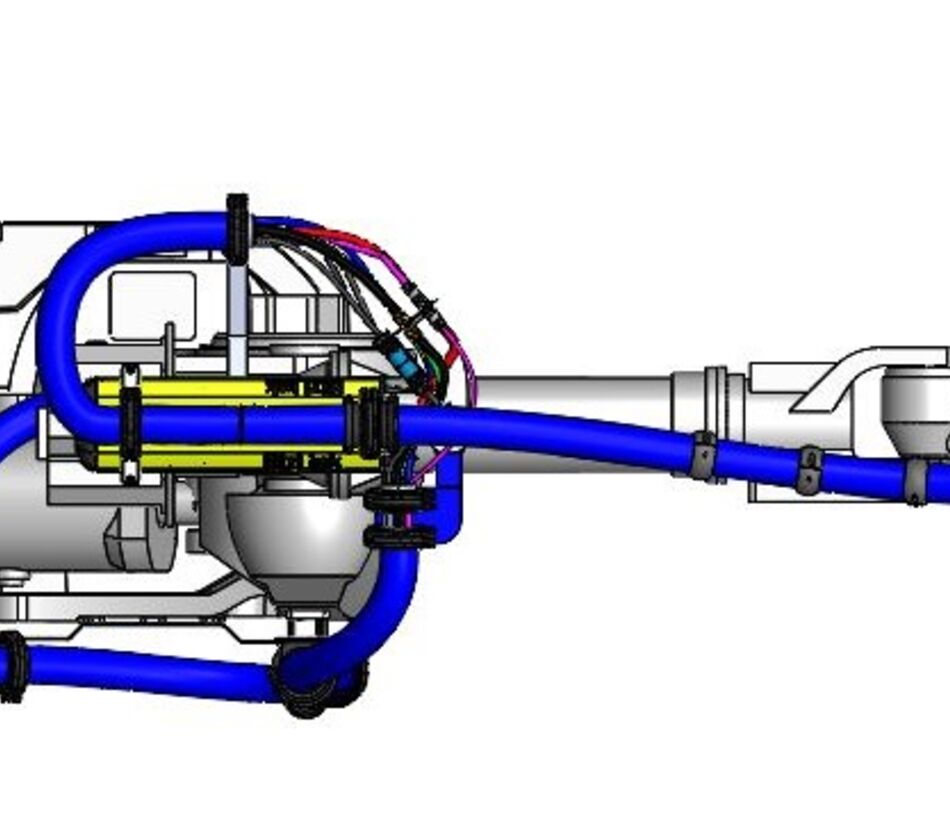
 

Side view of an industrial robot arm with BizLink LSH robotic dresspack and protective corrugated tube
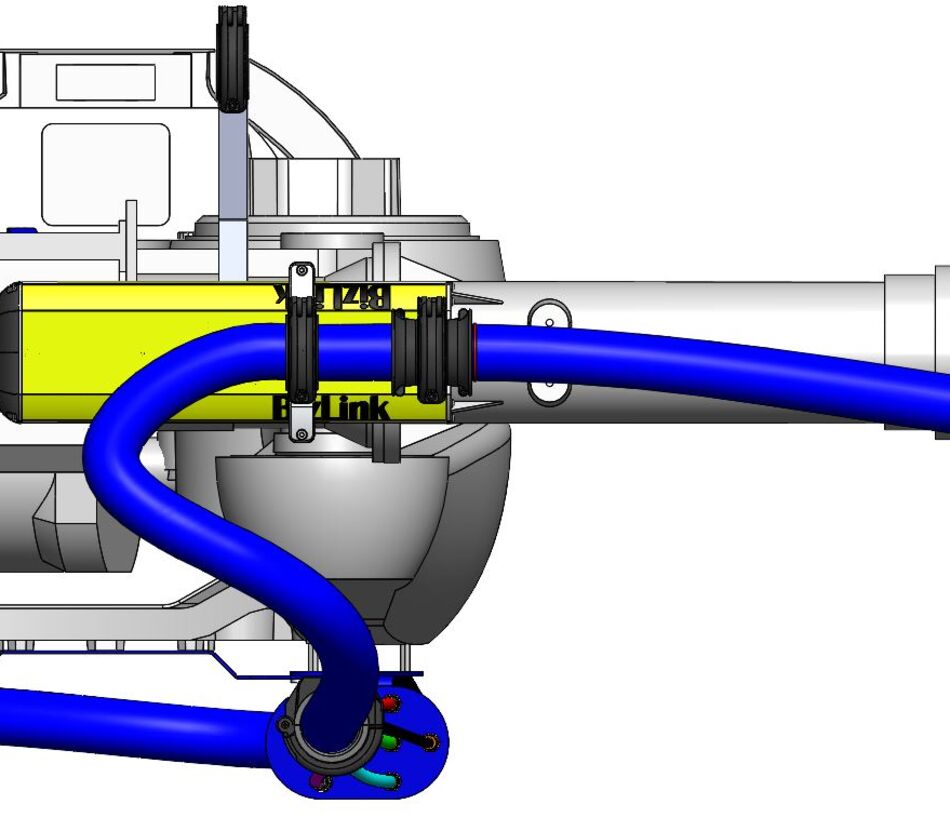
Top view of BizLink LSH robotic dresspack showing an alternative routing of the protective corrugated tube around the robot

Clause de non-responsabilité Notre garantie pour un fonctionnement sans faille de ce produit implique le montage et le fonctionnement corrects de celui-ci, conformément au présent mode d’emploi. Le présent mode d’emploi doit être impérativement mis à la disposition et compris du personnel de maintenance responsable. Nous déclinons toute responsabilité en cas de dommages et de dysfonctionnements dus au non-respect de ce mode d’emploi.


Contact