Informaciones técnicas

Para utilizar nuestros sistemas de paquetes energéticos de la forma prevista y obtener información adicional, le ofrecemos varios documentos que puede descargar.

Ofrecemos información sobre nuestro nuevo LSH Delta y el LSH 3.

Si tiene alguna duda, póngase en contacto con nosotros.


Instrucciones de uso de LSH 3

1. Equipe el robot únicamente con el hardware suministrado para la instalación del sistema LSH 3.
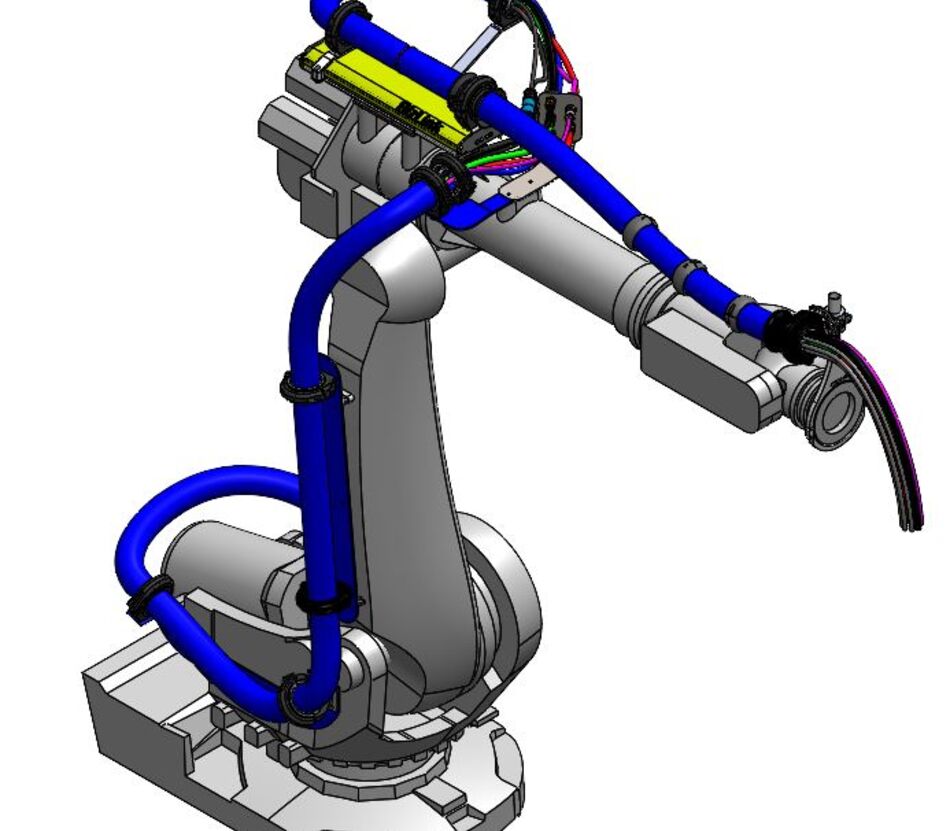
 

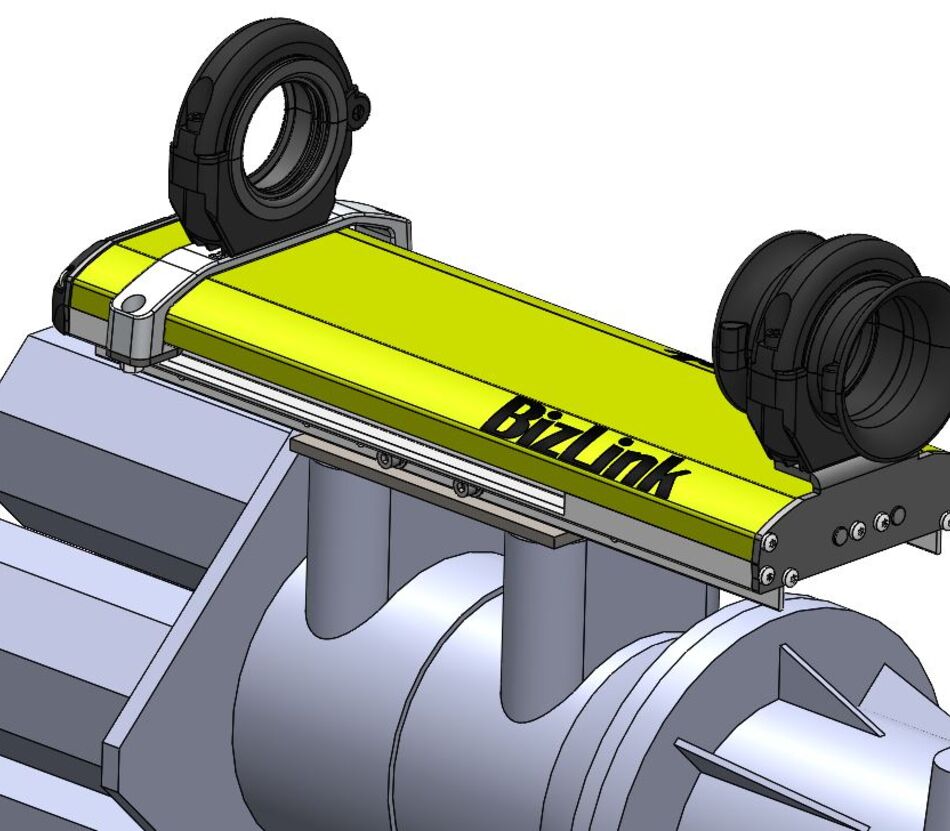
3D model of an industrial robot equipped with a BizLink robotic dresspack and LSH 3 retract system

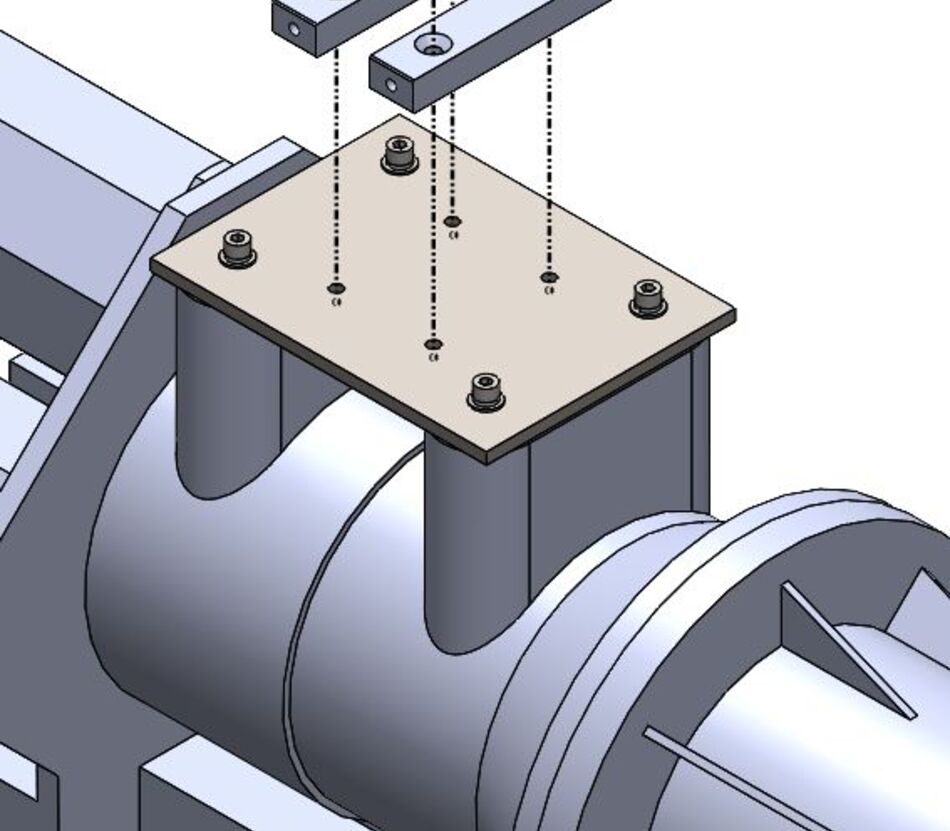
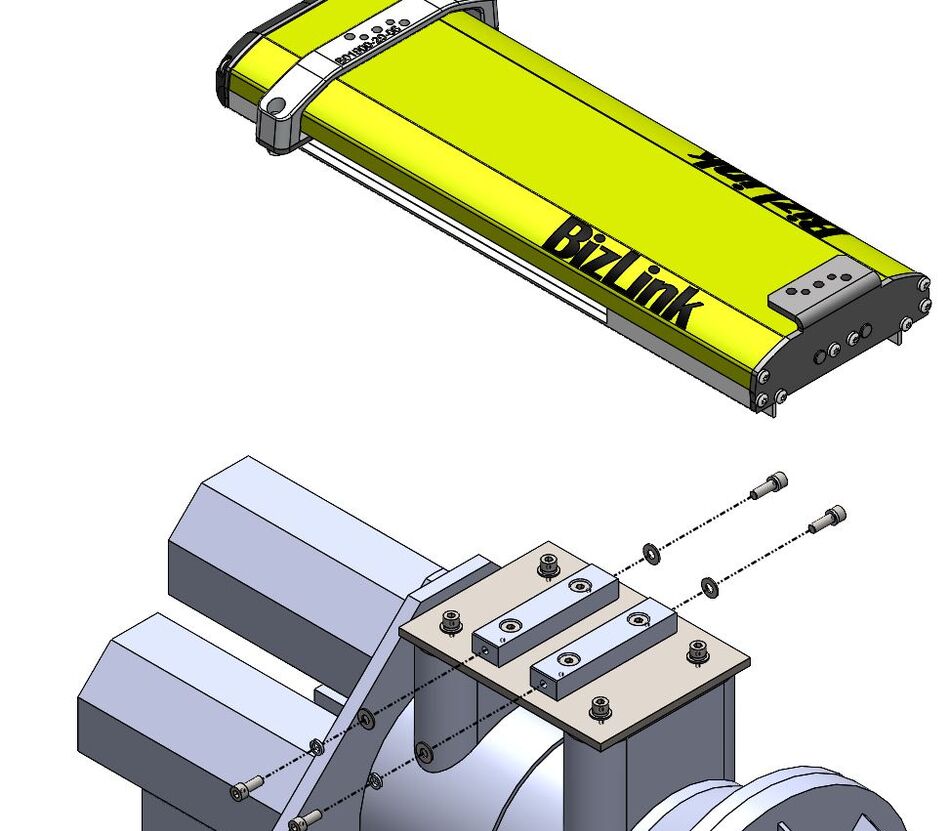
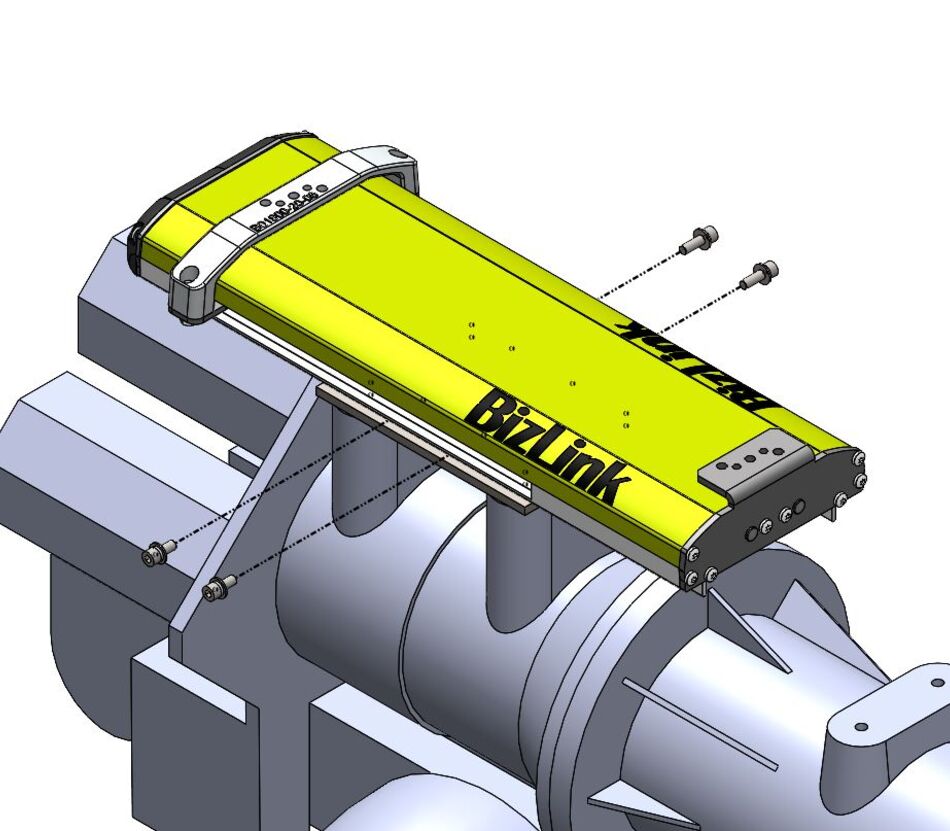
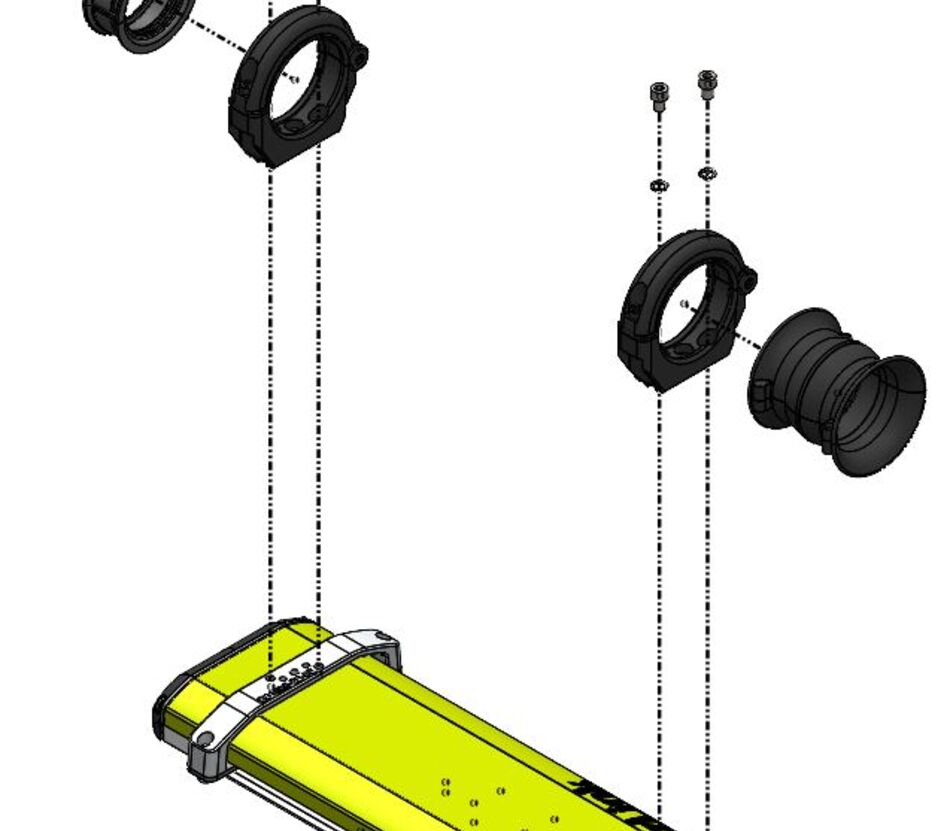
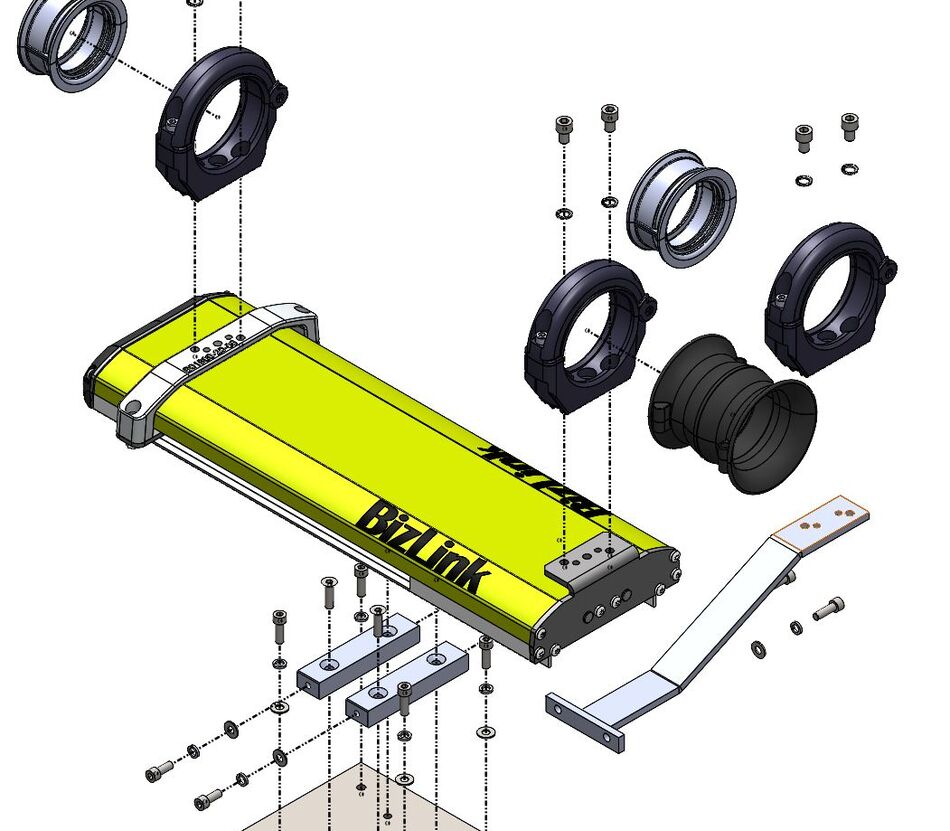
2. Utilice los tornillos, las arandelas elásticas y las arandelas planas suministrados en las posiciones definidas.
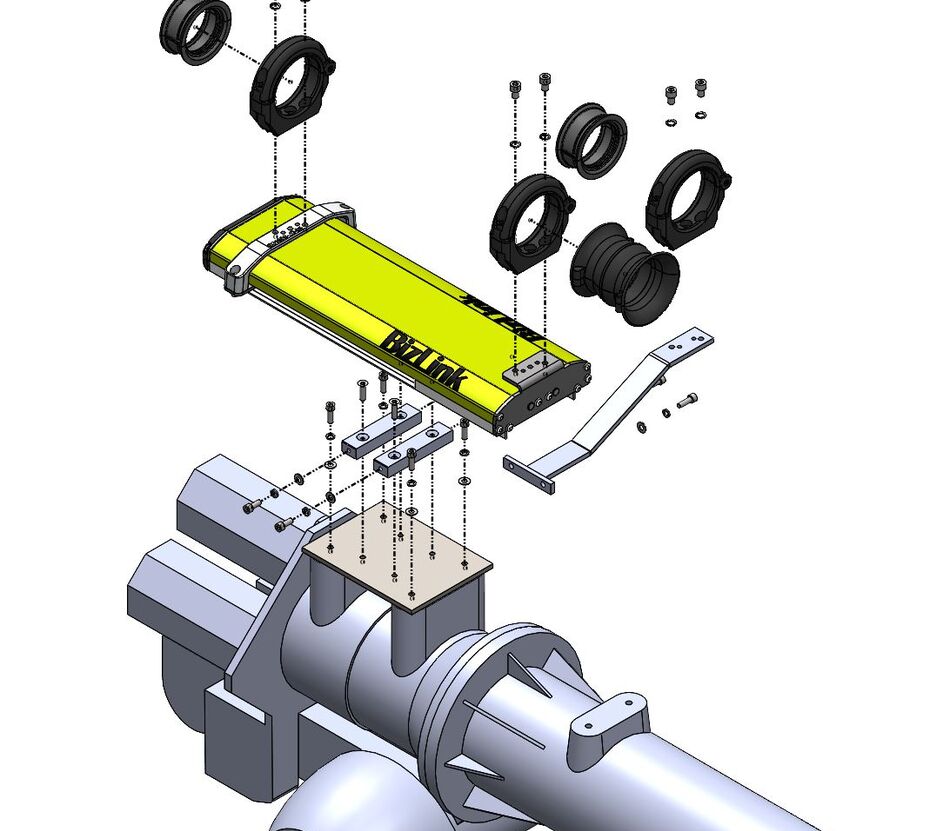
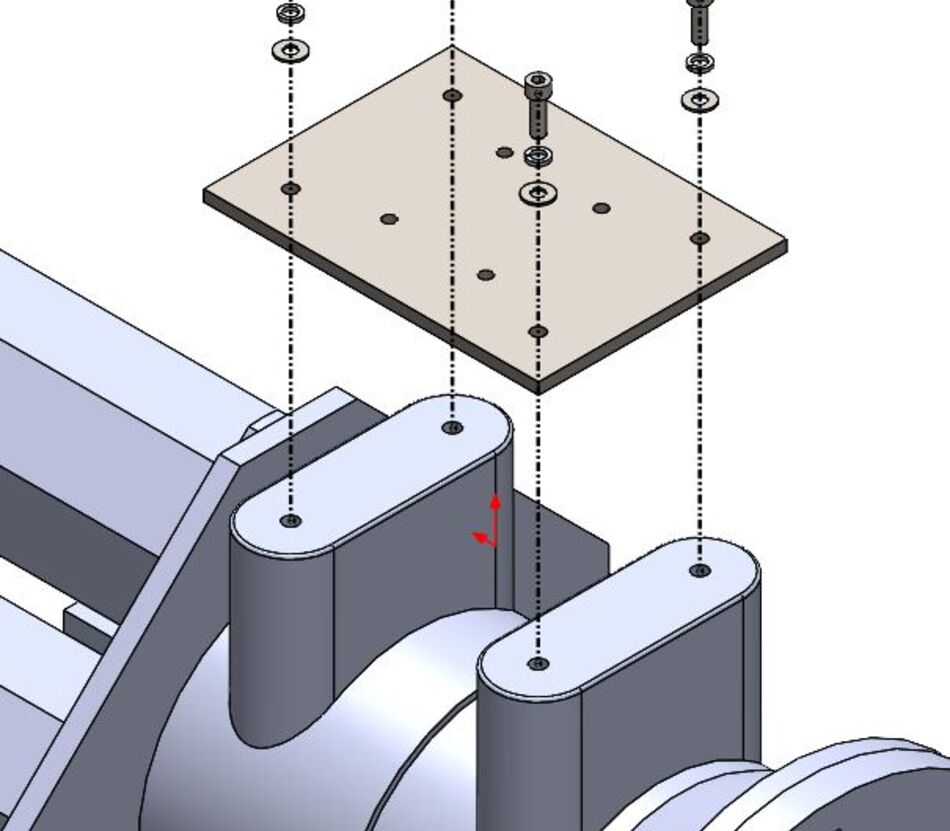
 

Exploded view of BizLink LSH robotic dresspack installation components on an industrial robot. It shows how to use provided screws, spring washer and flat washers on defined positions.
Close-up 3D model of the BizLink LSH robotic dresspack mounting system on an industrial robot
Exploded view of BizLink LSH robotic dresspack installation components on an industrial robot. It shows how to use provided screws, spring washer and flat washers on defined positions.
Close-up 3D model of the BizLink LSH robotic dresspack retract system mounted on an industrial robot

3. Aplique los pares de apriete designados para todos los tornillos como se especifica en: DIN 912 / DIN EN ISO 4762 / ANSI B18.3.1M
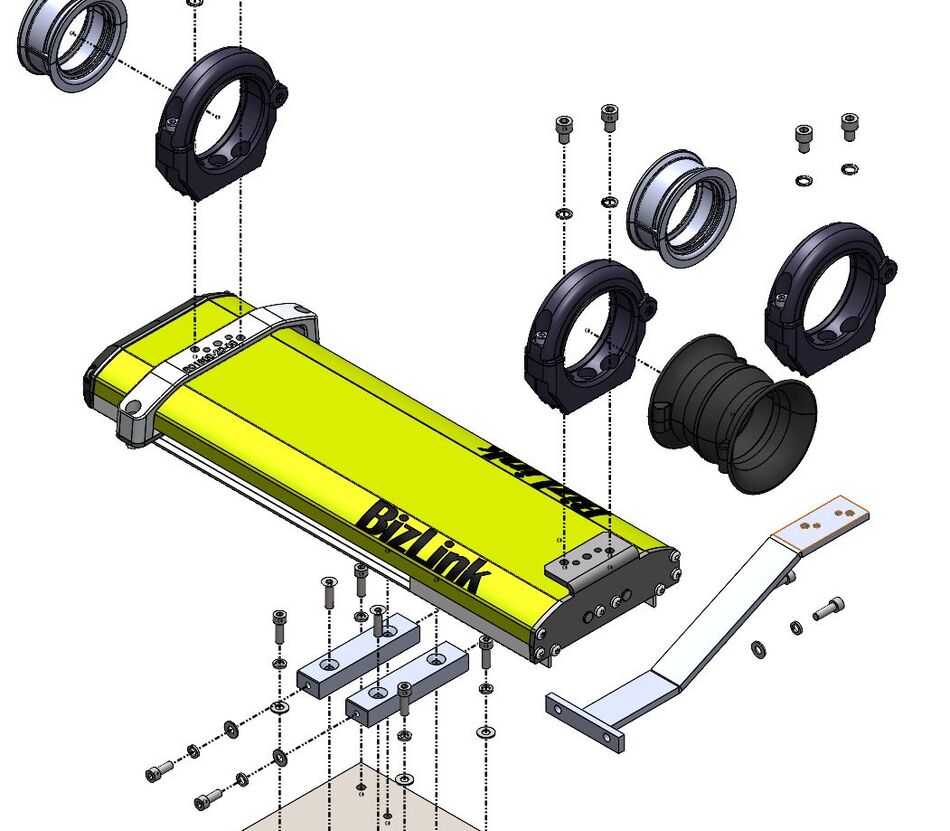
 

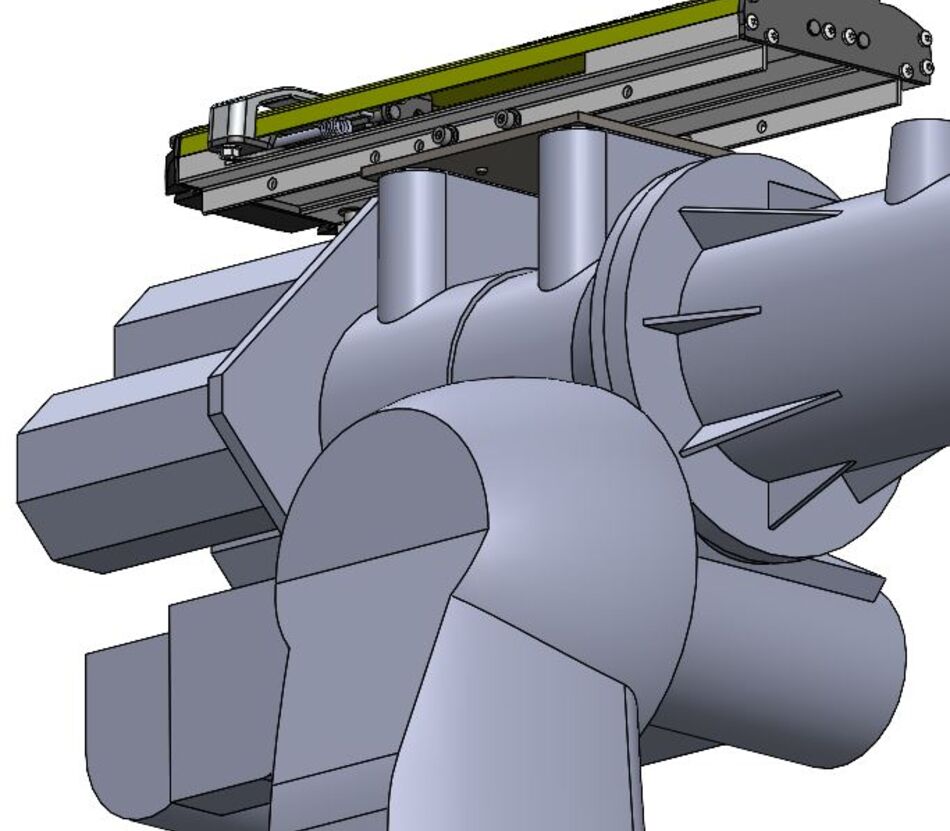
Exploded 3D view of BizLink LSH robotic dresspack retract system components and mounting hardware

4. Consulte los manuales de instalación específicos para los soportes de los brazos laterales.
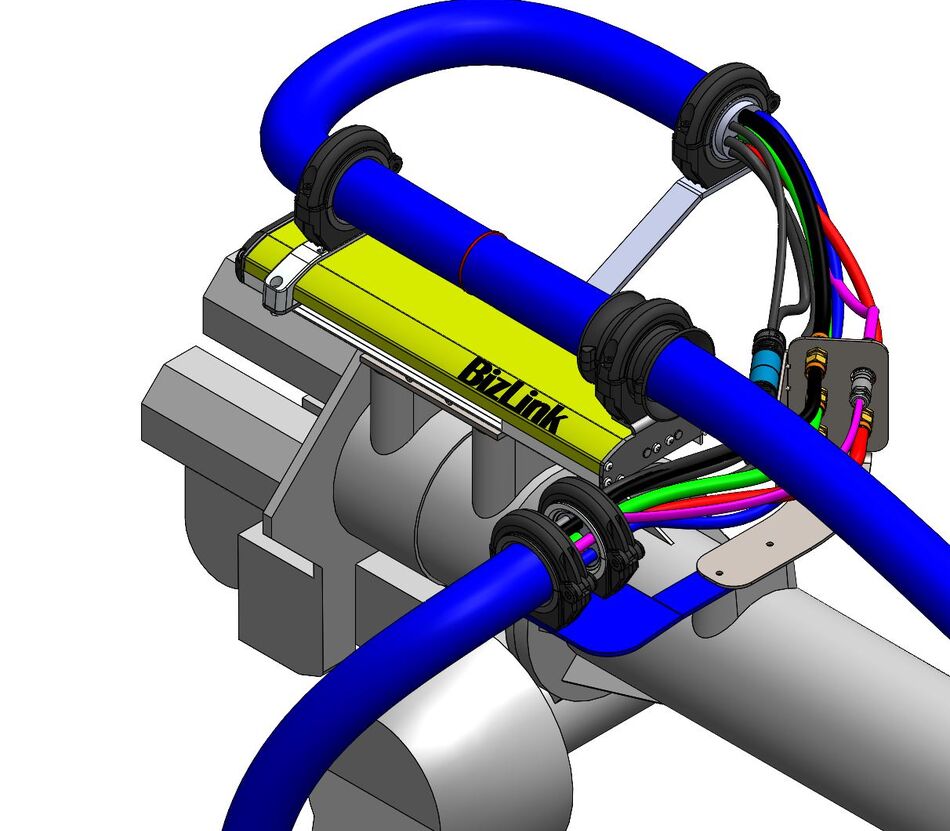
 

3D model of BizLink LSH robotic dresspack retract system with cables and protective corrugated tubes mounted on an industrial robot
Exploded 3D view of BizLink LSH robotic dresspack retract system with mounting and cable guidance components

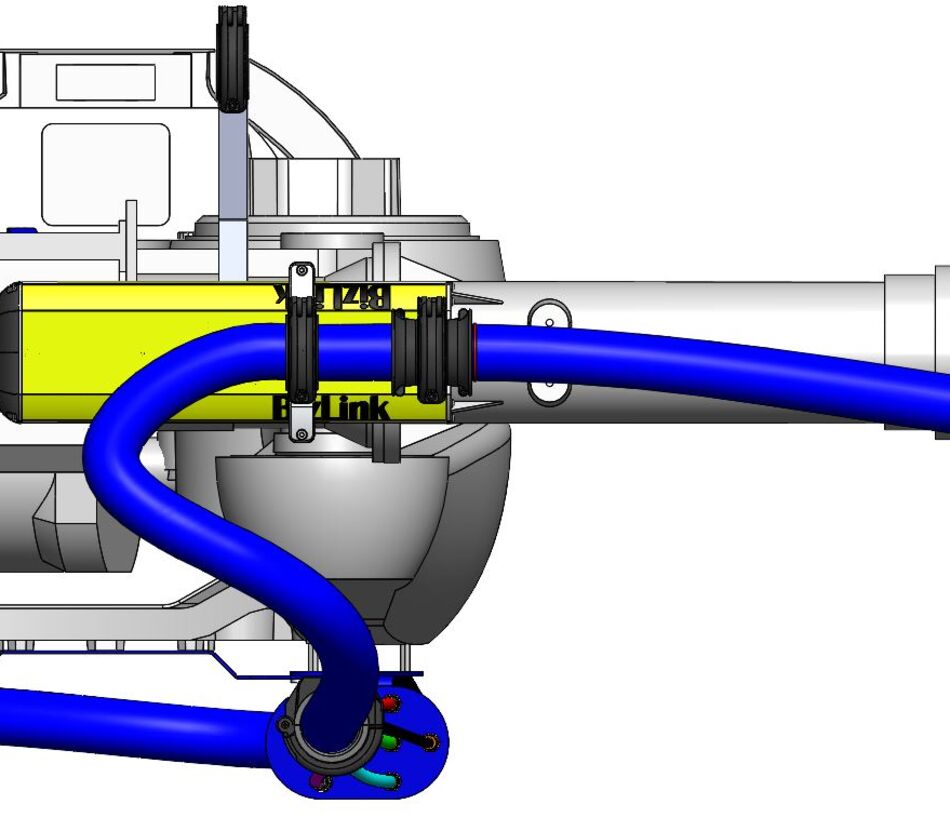
5. Preste atención a la longitud correcta del bucle entre el soporte trasero y la interfaz J3. Rango recomendado: 700 - 750 mm.
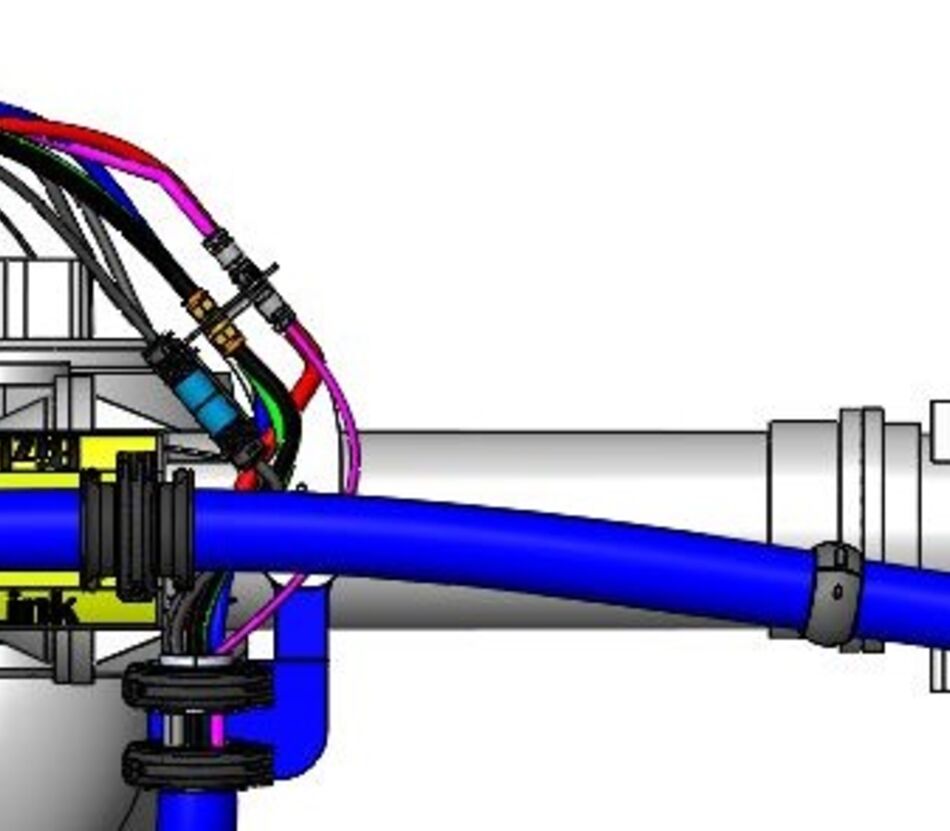
 

Top view of BizLink LSH robotic dresspack retract system with protective corrugated tube and cables mounted on an industrial robot
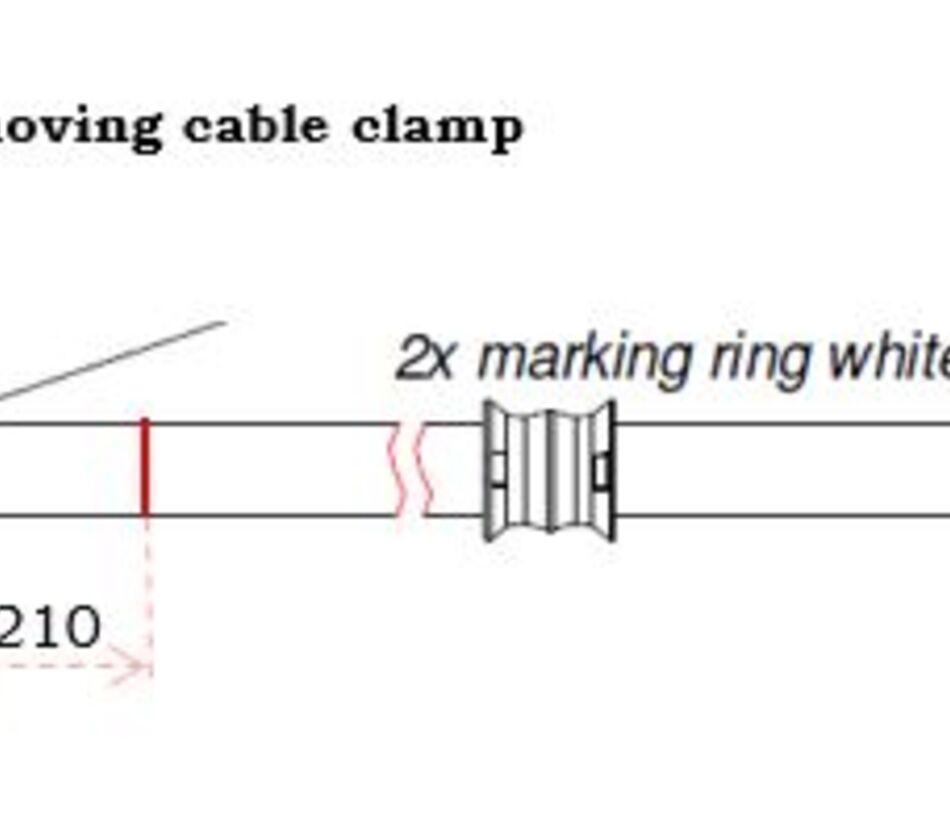
Technical drawing showing the position and dimensions of the moving cable clamp and marking rings on BizLink's robotic corrugated hose

6. Preste atención a la longitud máxima de carrera de 350 mm. Si aparece un anillo de marcación rojo delante de la trompeta doble, significa que se ha alcanzado la longitud máxima de carrera. No prolongar más.
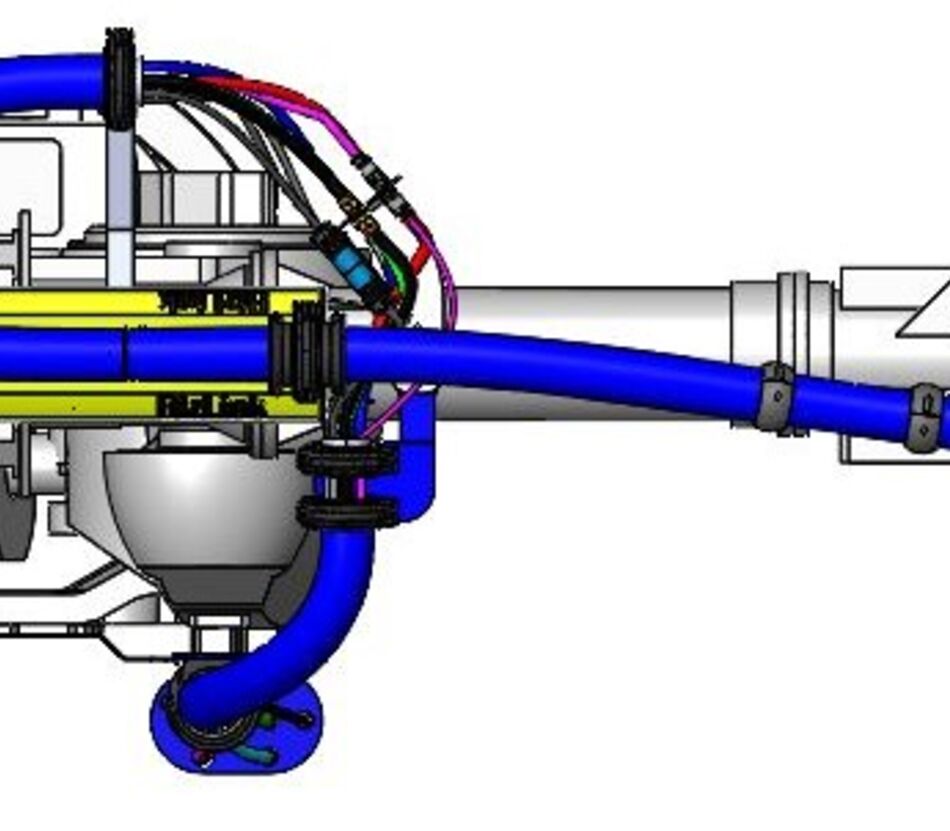
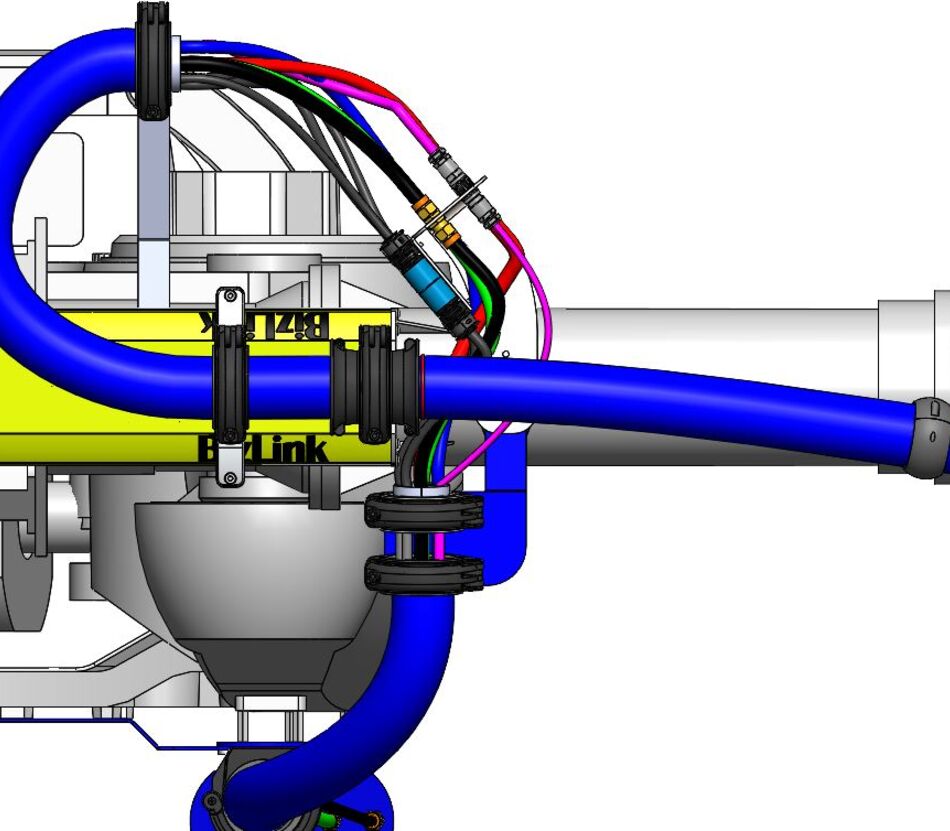
 

Top view of an industrial robot equipped with a BizLink LSH 3 retract system and robotic dresspack retract system and protective corrugated tube

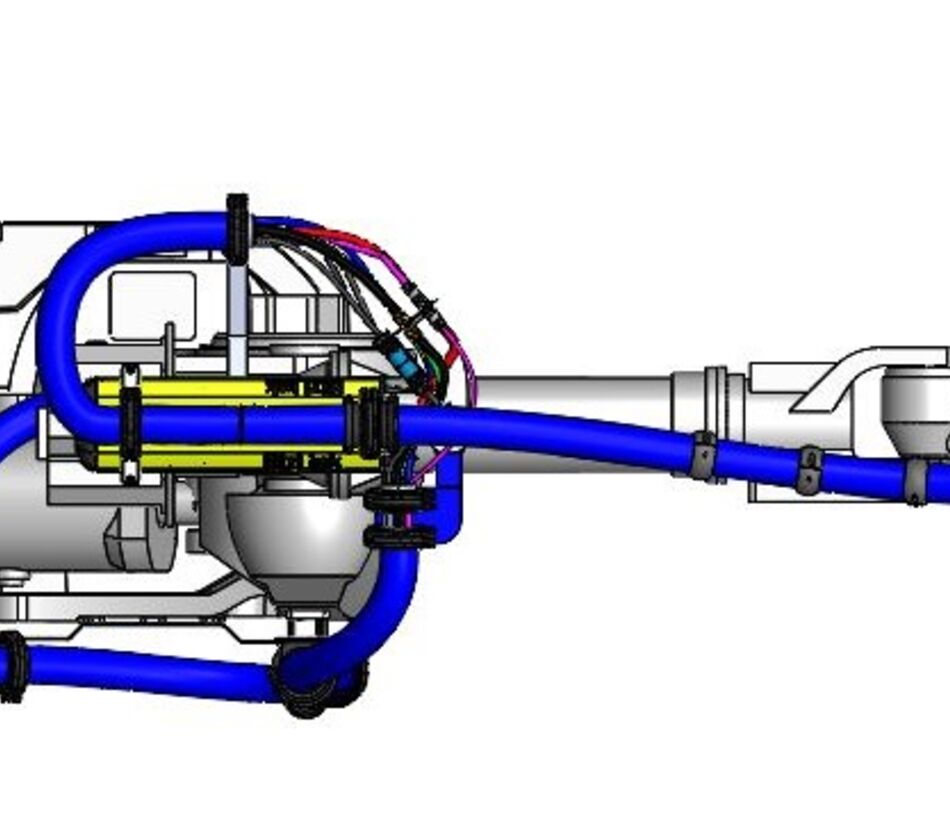
7. Verifique la libertad de movimiento y el espacio libre con respecto a los periféricos de todo el sistema LSH 3.
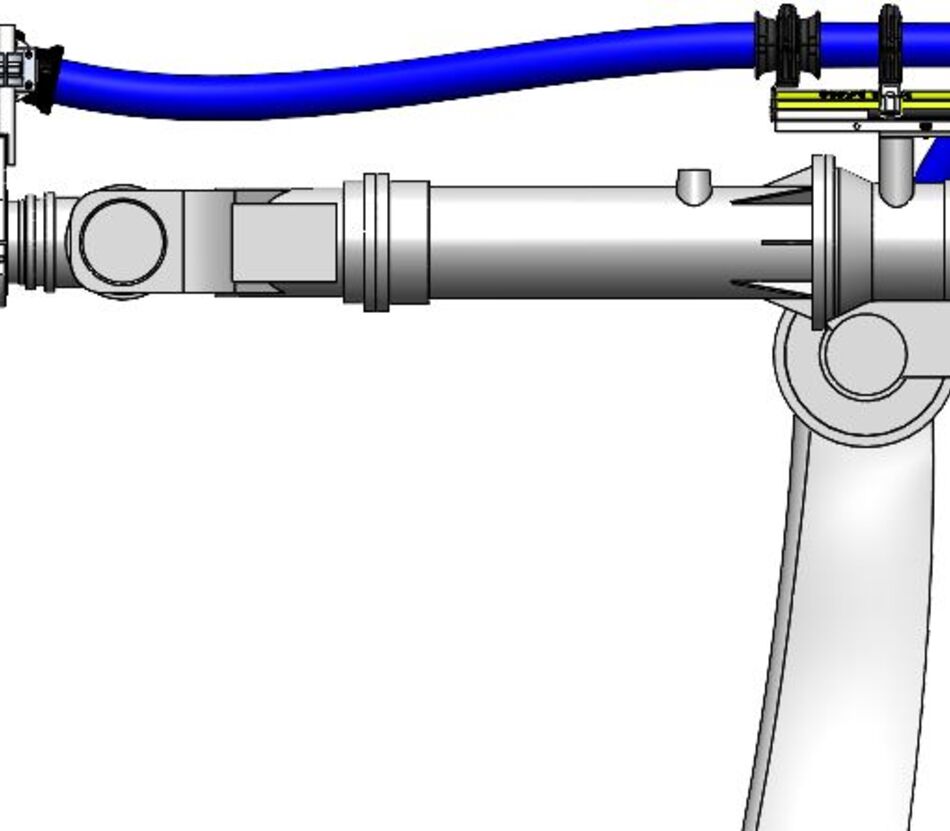
 

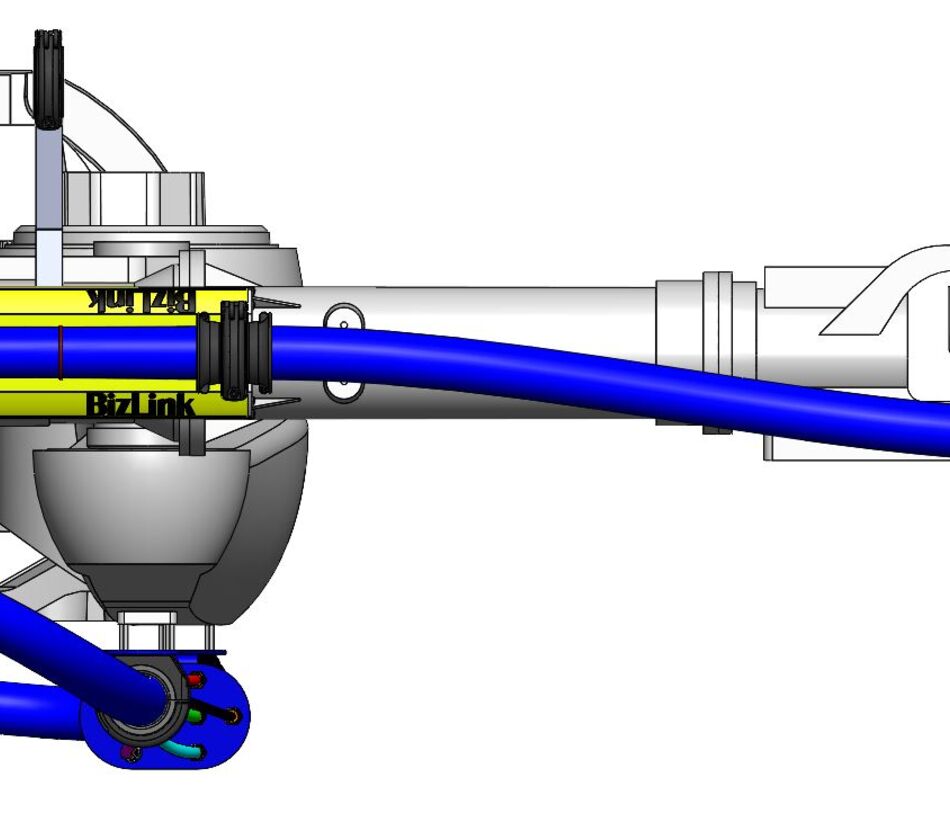
Side view of an industrial robot arm with BizLink LSH robotic dresspack and protective corrugated tube
Top view of BizLink LSH robotic dresspack showing an alternative routing of the protective corrugated tube around the robot

Exención de responsabilidad: Nuestra garantía para un funcionamiento sin fallos de este producto se basa en el montaje y funcionamiento correctos de acuerdo con estas instrucciones de funcionamiento. Es imprescindible que el personal de mantenimiento responsable tenga acceso a estas instrucciones de funcionamiento y las comprenda. No asumimos ninguna responsabilidad por daños y fallos de funcionamiento debidos al incumplimiento de estas instrucciones.


Contacto