Technical Information

In order to operate our dresspack systems in the intended way and to get additional information we offer you various documents for download.

We offer information for our new LSH Delta as well as the LSH 3.

Please contact us in case of questions.


LSH 3 Operating Instructions

1. Equip the robot only with the provided hardware for installation of the LSH 3 system.
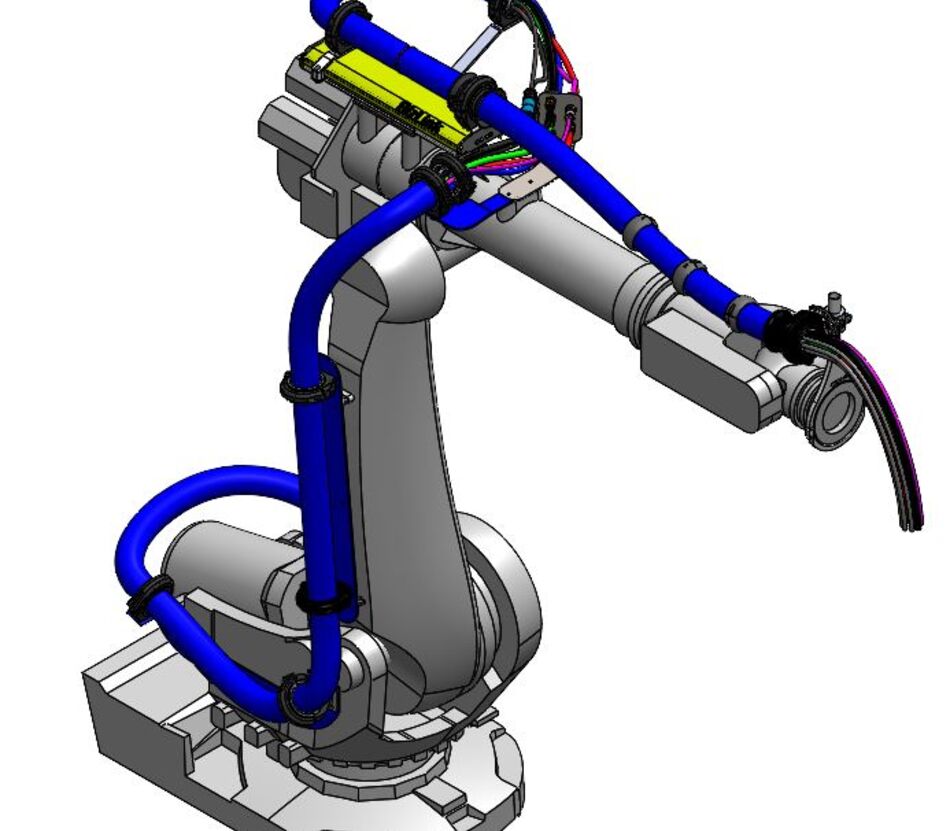
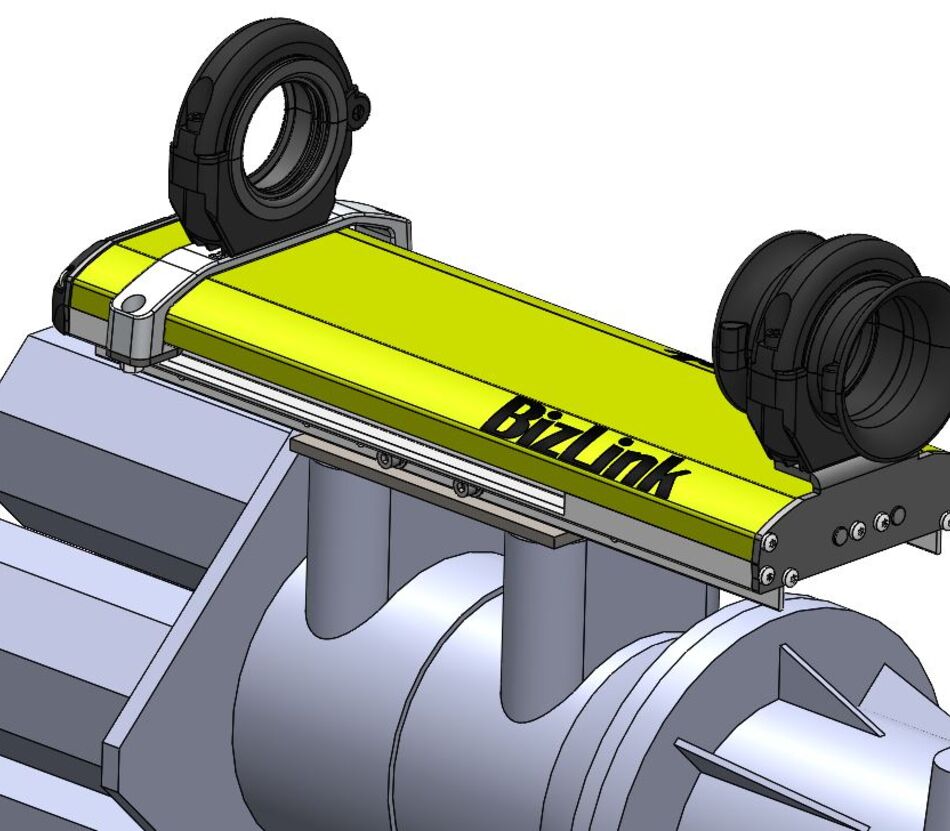
3D model of an industrial robot equipped with a BizLink robotic dresspack and LSH 3 retract system

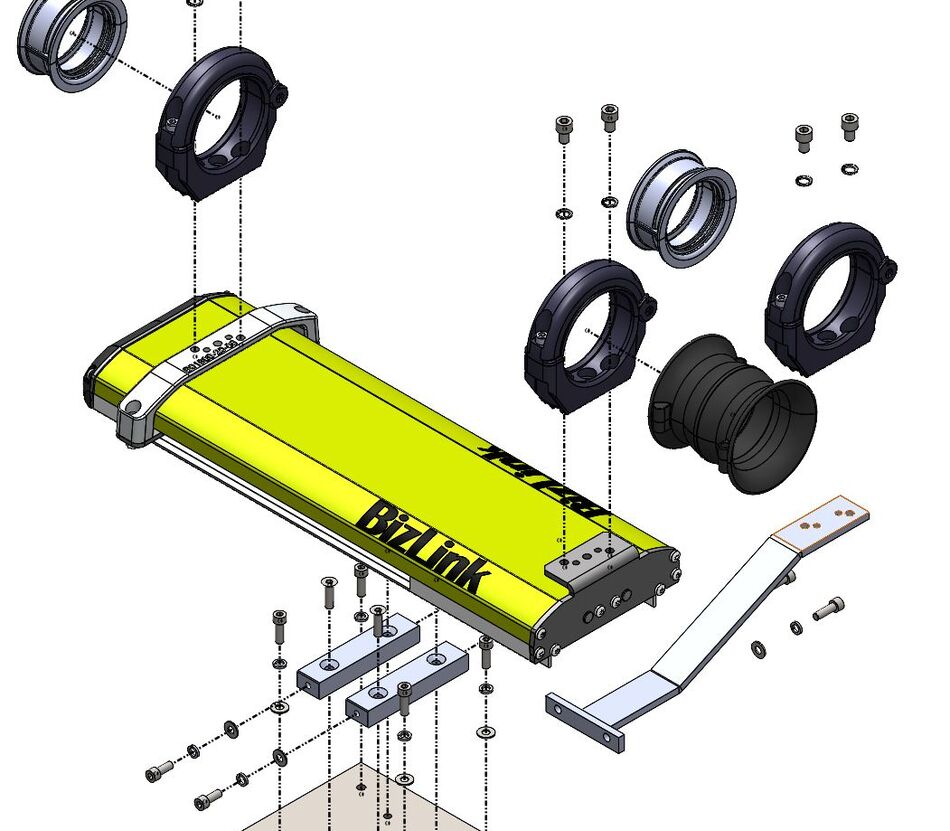
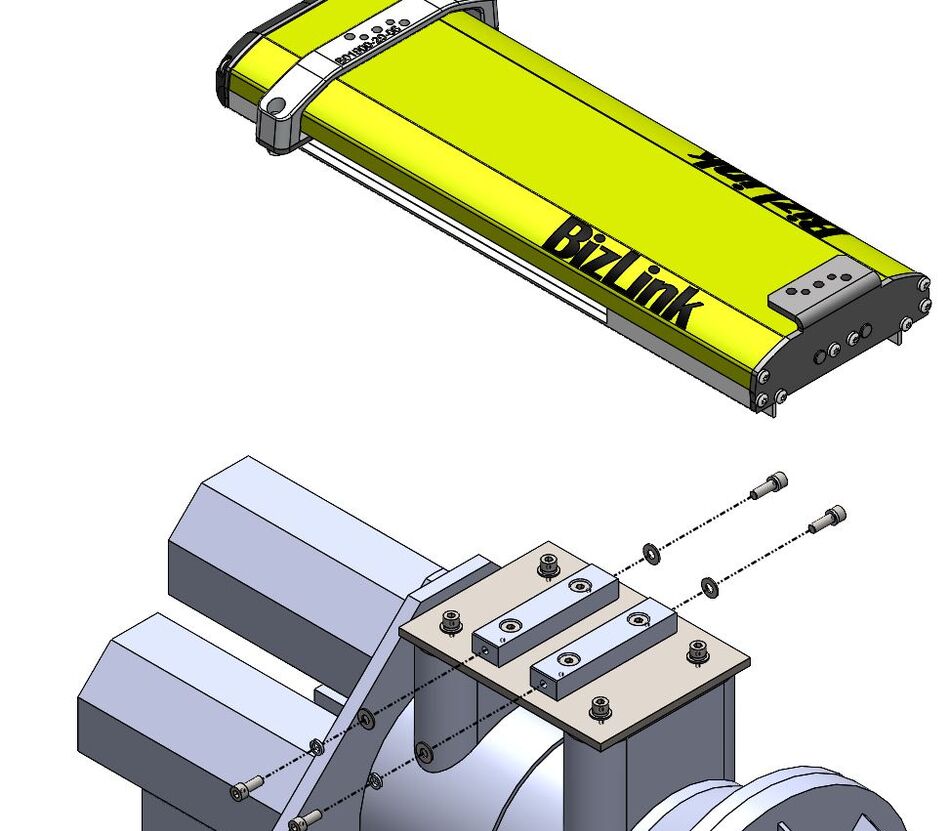
2. Use provided screws, spring washer and flat washers on defined positions.
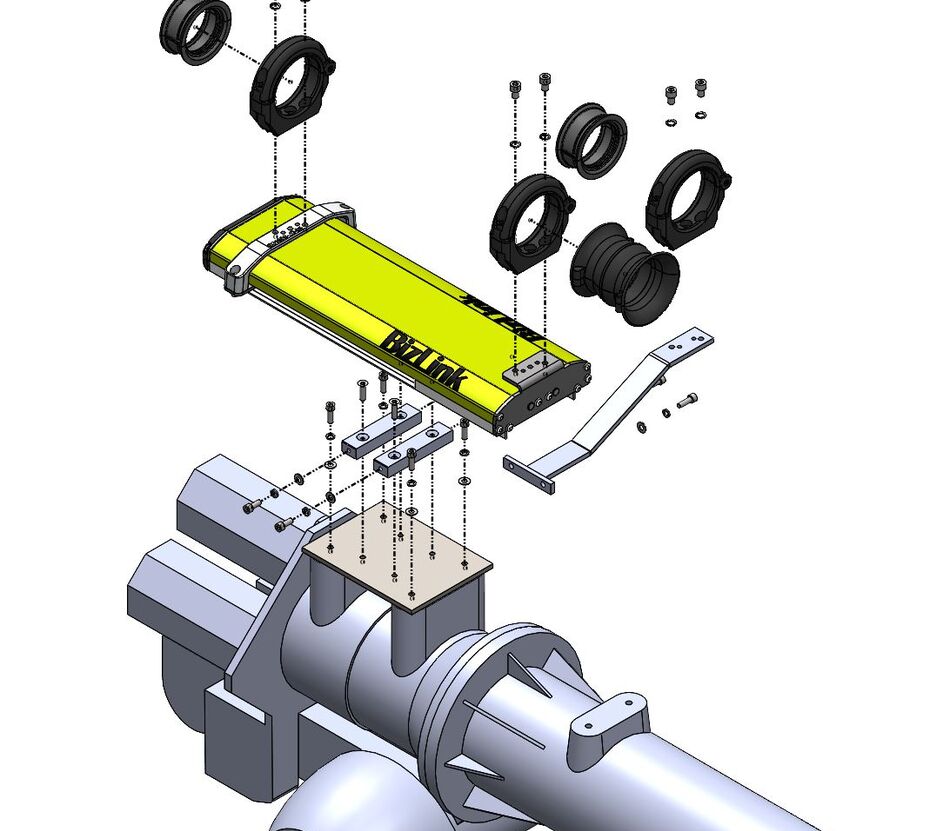
Exploded view of BizLink LSH robotic dresspack installation components on an industrial robot. It shows how to use provided screws, spring washer and flat washers on defined positions.
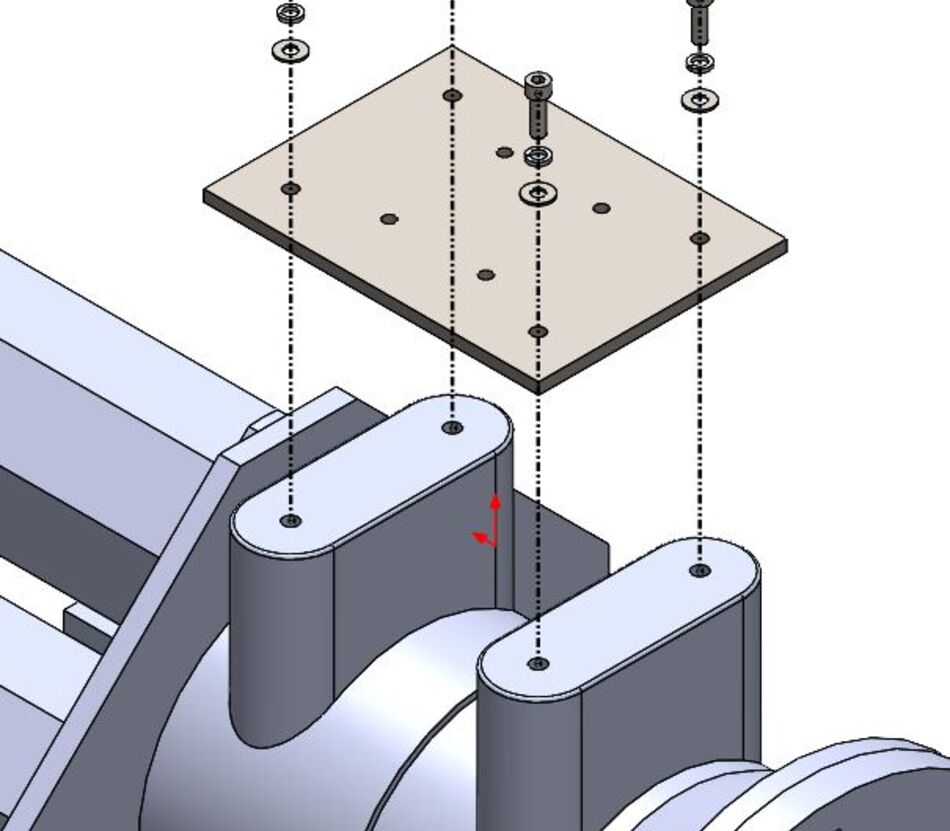
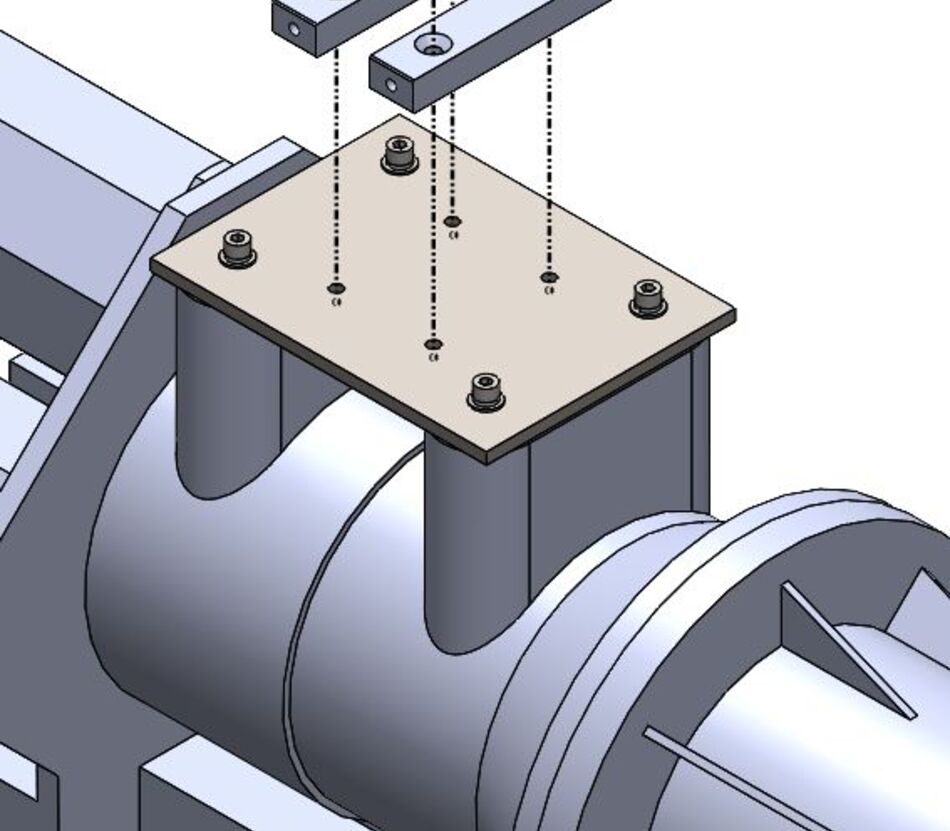
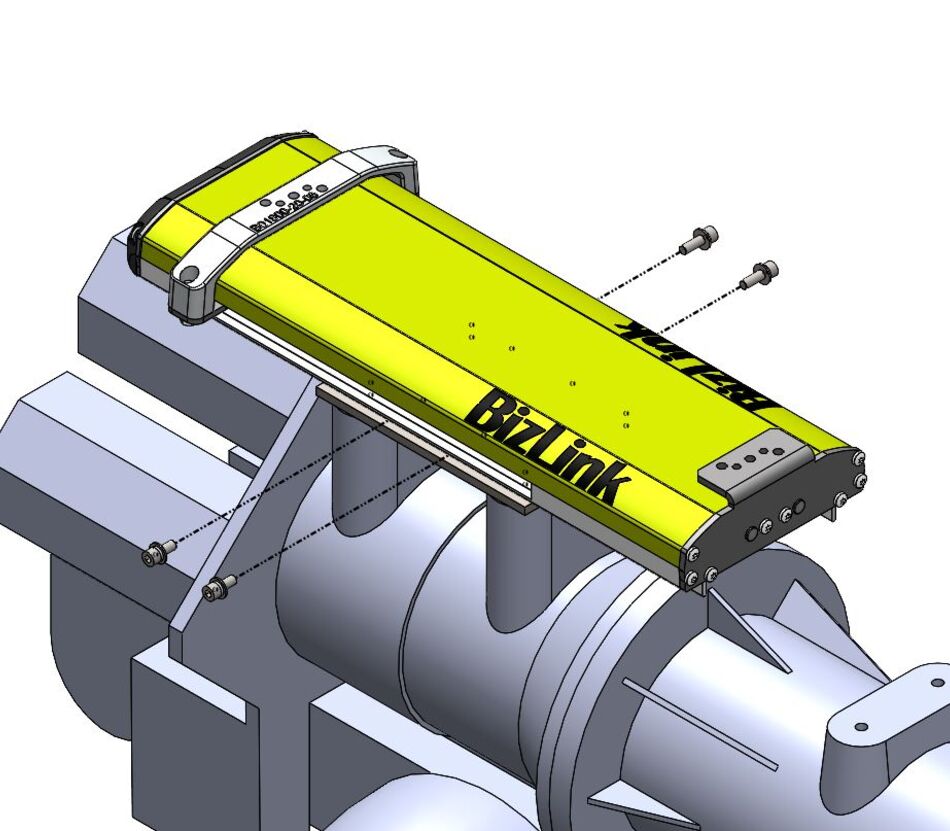
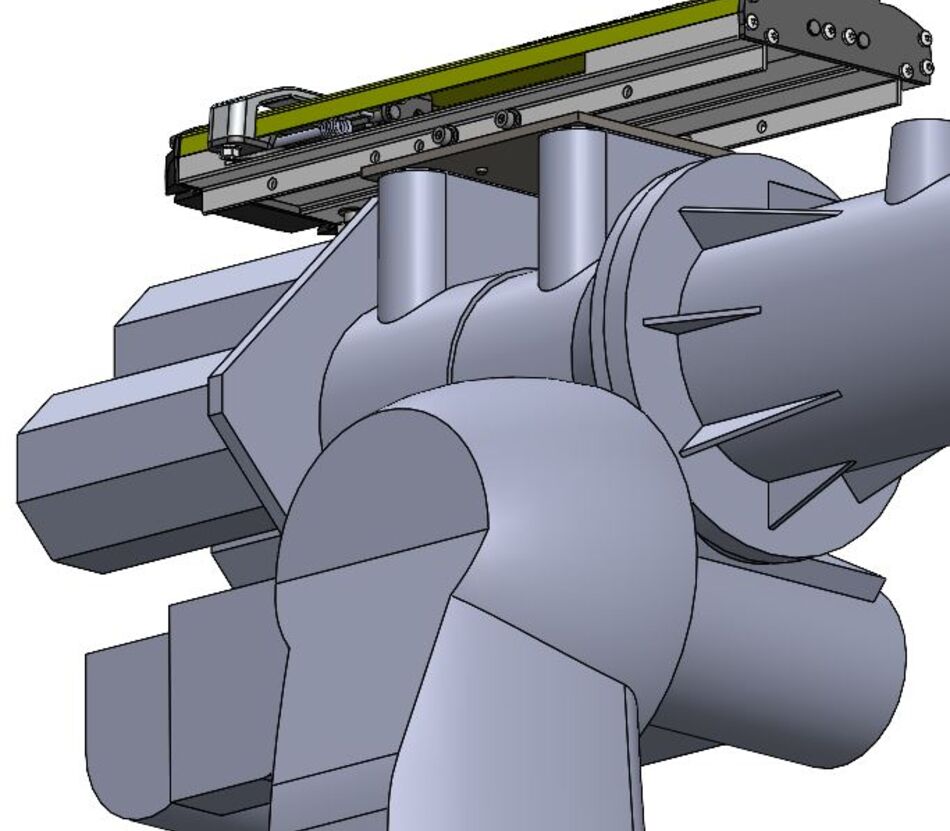
Close-up 3D model of the BizLink LSH robotic dresspack mounting system on an industrial robot
Exploded view of BizLink LSH robotic dresspack installation components on an industrial robot. It shows how to use provided screws, spring washer and flat washers on defined positions.
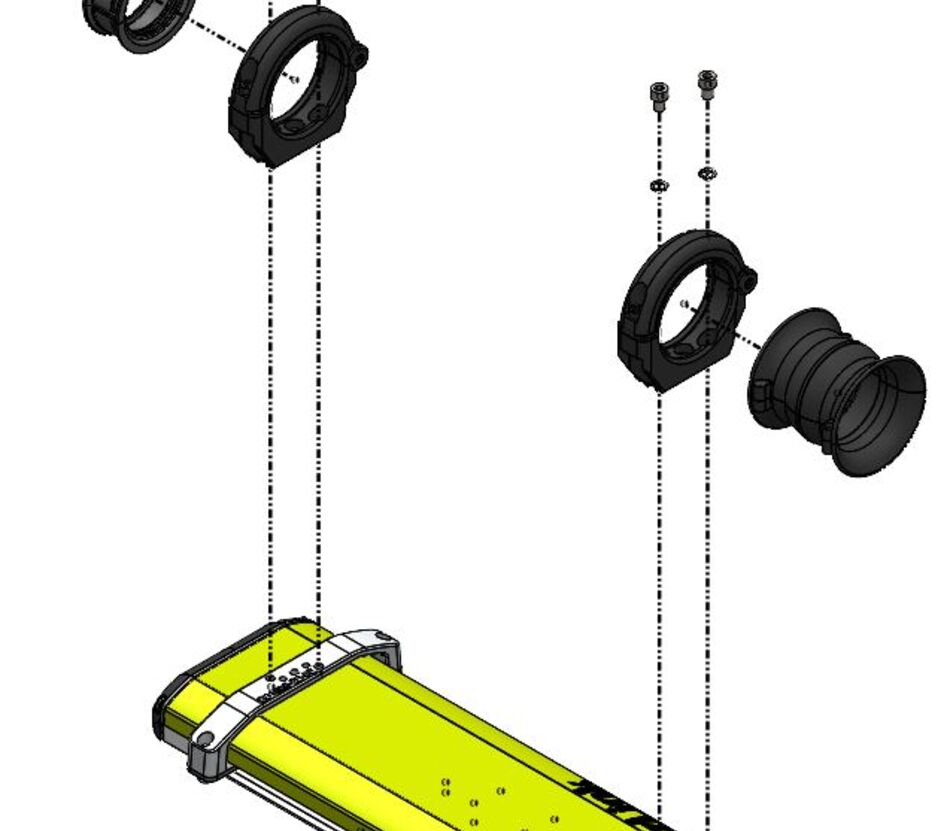
Close-up 3D model of the BizLink LSH robotic dresspack retract system mounted on an industrial robot

3. Use designated torques for all screws as specified in: DIN 912 / DIN EN ISO 4762 / ANSI B18.3.1M
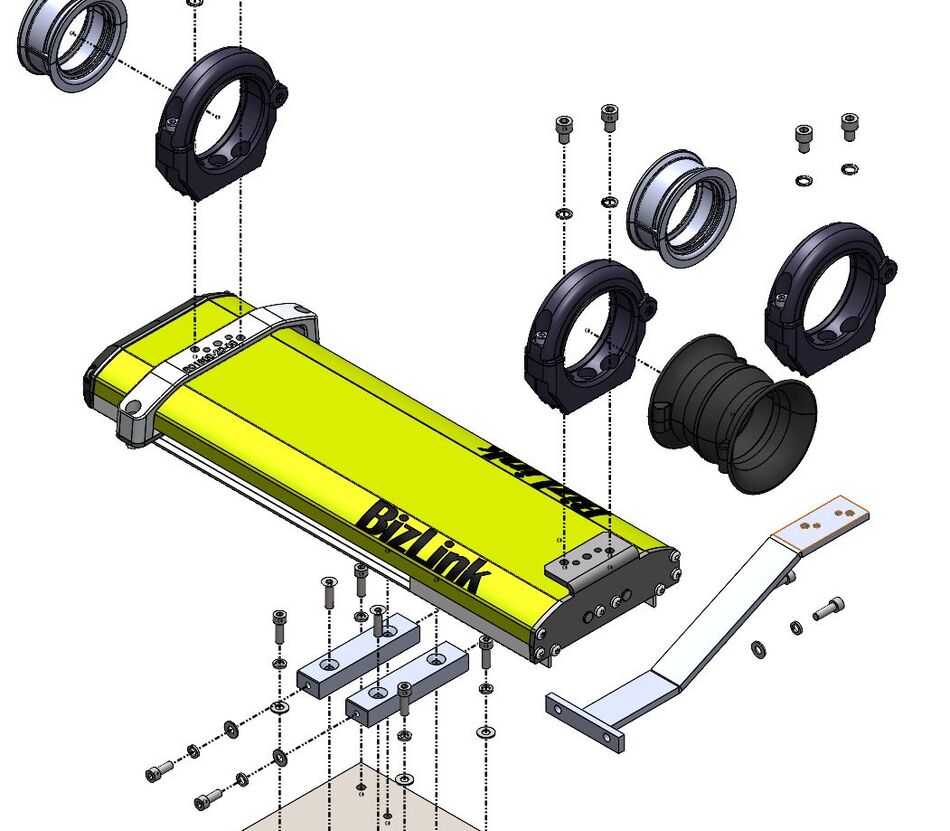
Exploded 3D view of BizLink LSH robotic dresspack retract system components and mounting hardware

4. Please refer to specific installation manuals for side arm brackets.
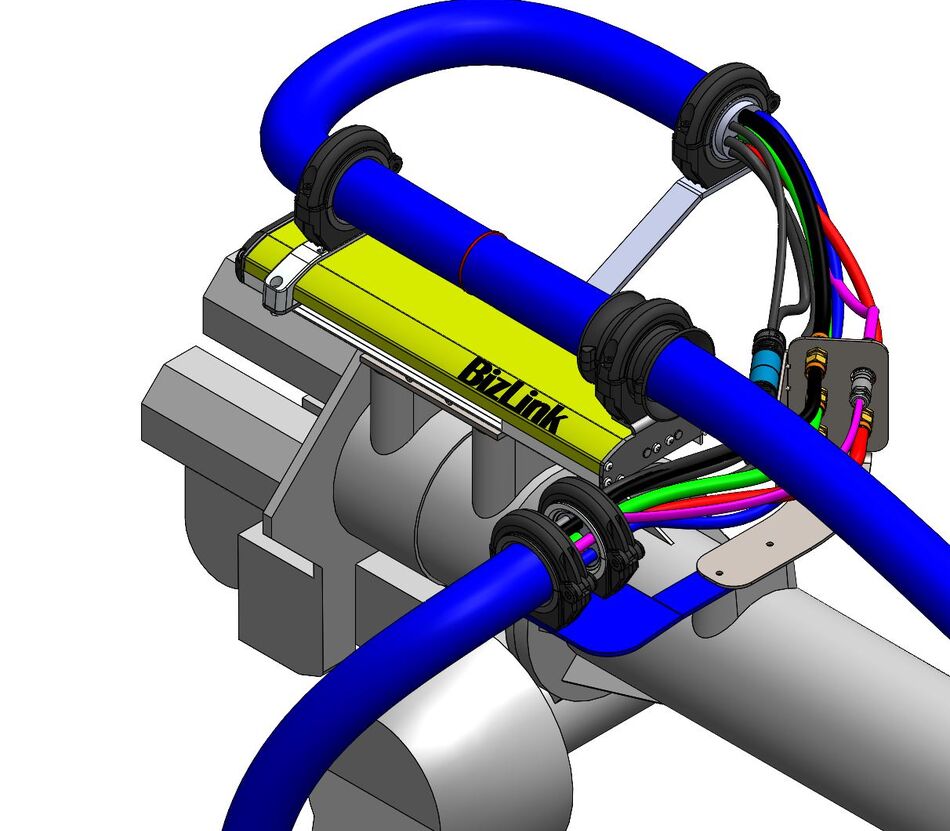
 

3D model of BizLink LSH robotic dresspack retract system with cables and protective corrugated tubes mounted on an industrial robot
Exploded 3D view of BizLink LSH robotic dresspack retract system with mounting and cable guidance components

5. Pay attention to correct loop length between rear bracket to J3 interface. Recommended range: 700 – 750 mm.
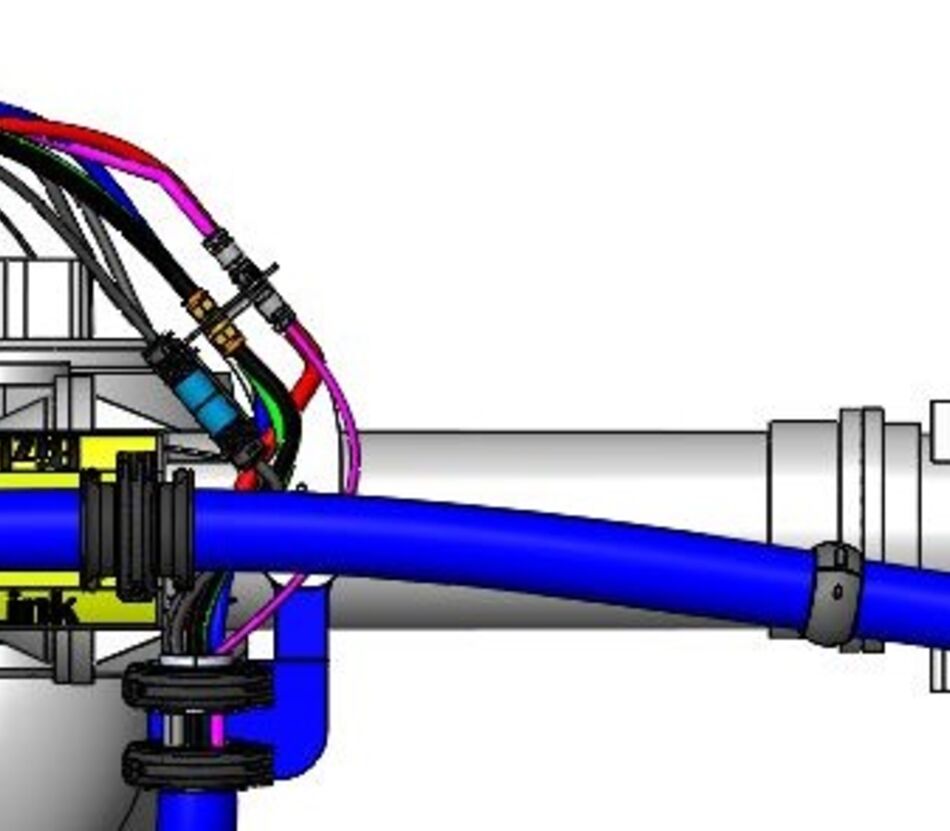
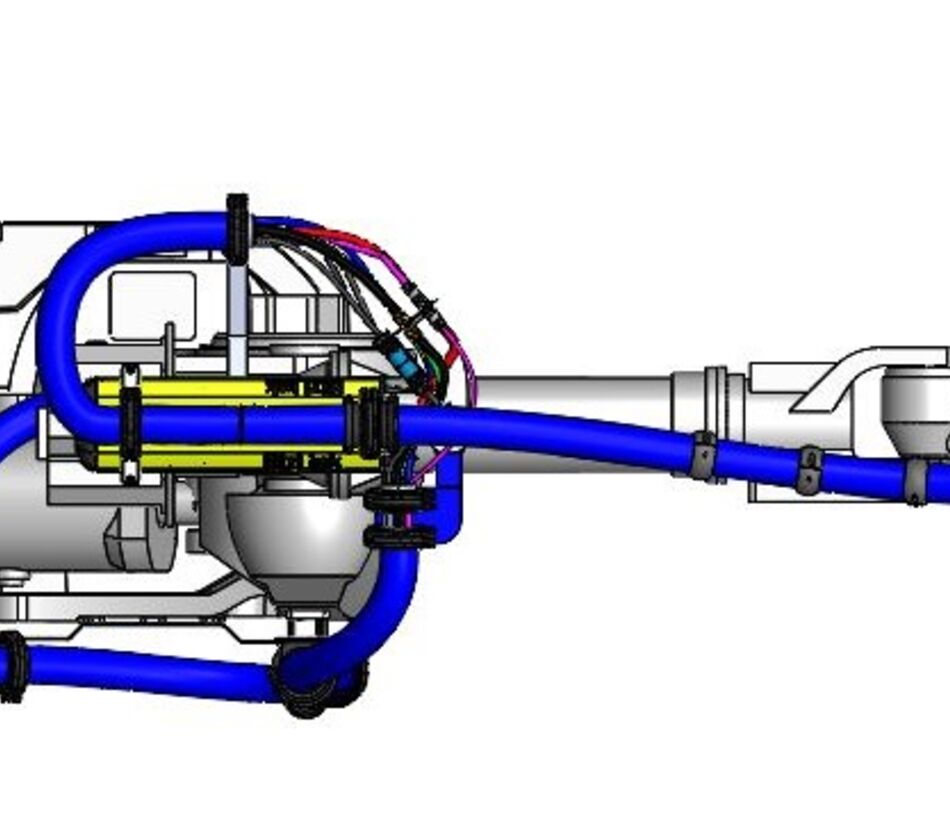
Top view of BizLink LSH robotic dresspack retract system with protective corrugated tube and cables mounted on an industrial robot
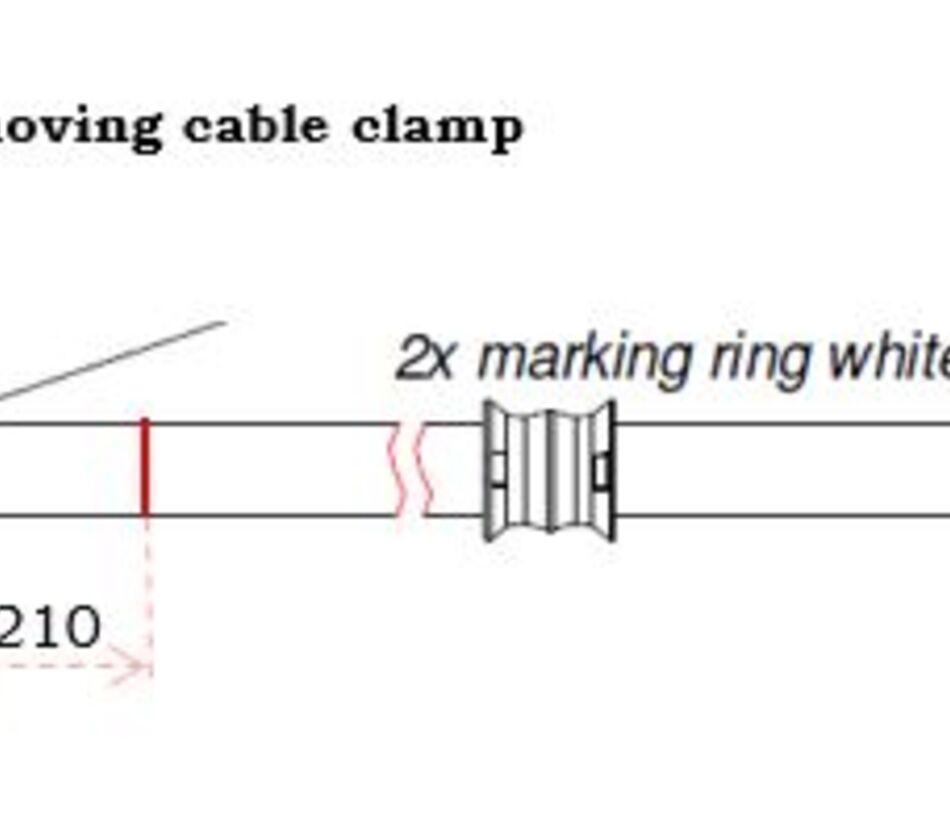
Technical drawing showing the position and dimensions of the moving cable clamp and marking rings on BizLink's robotic corrugated hose

6. Pay attention to the max. stroke length of 350 mm. If red marking ring appears in front of double trumpet, max. stroke is reached. Do not extend any further.
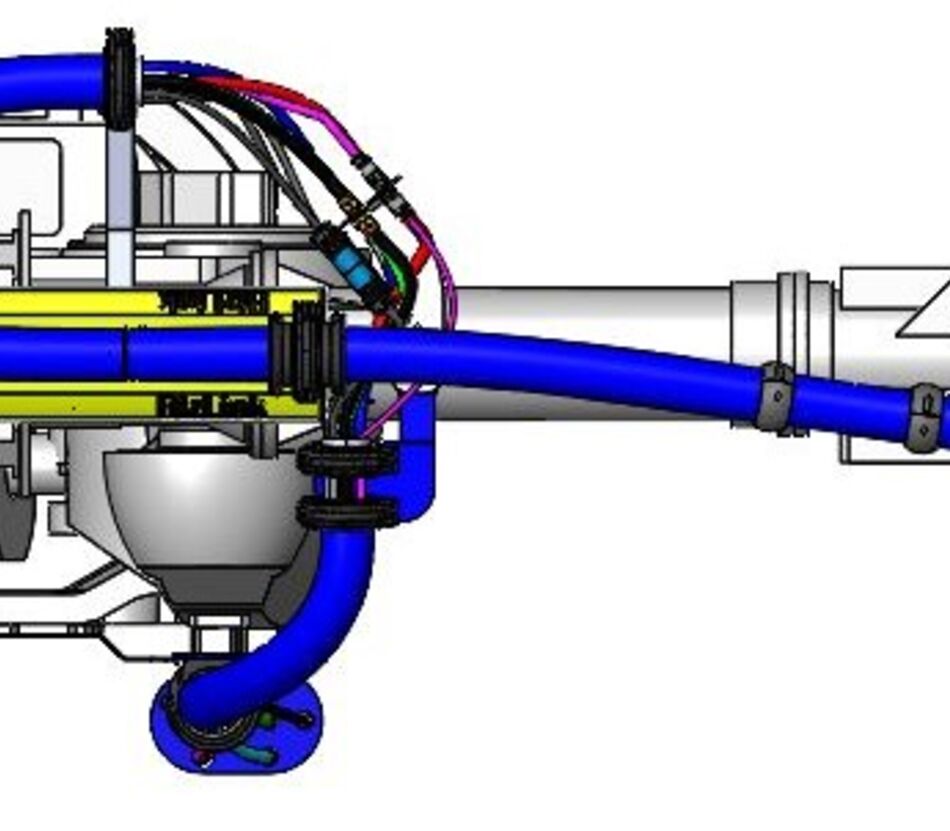
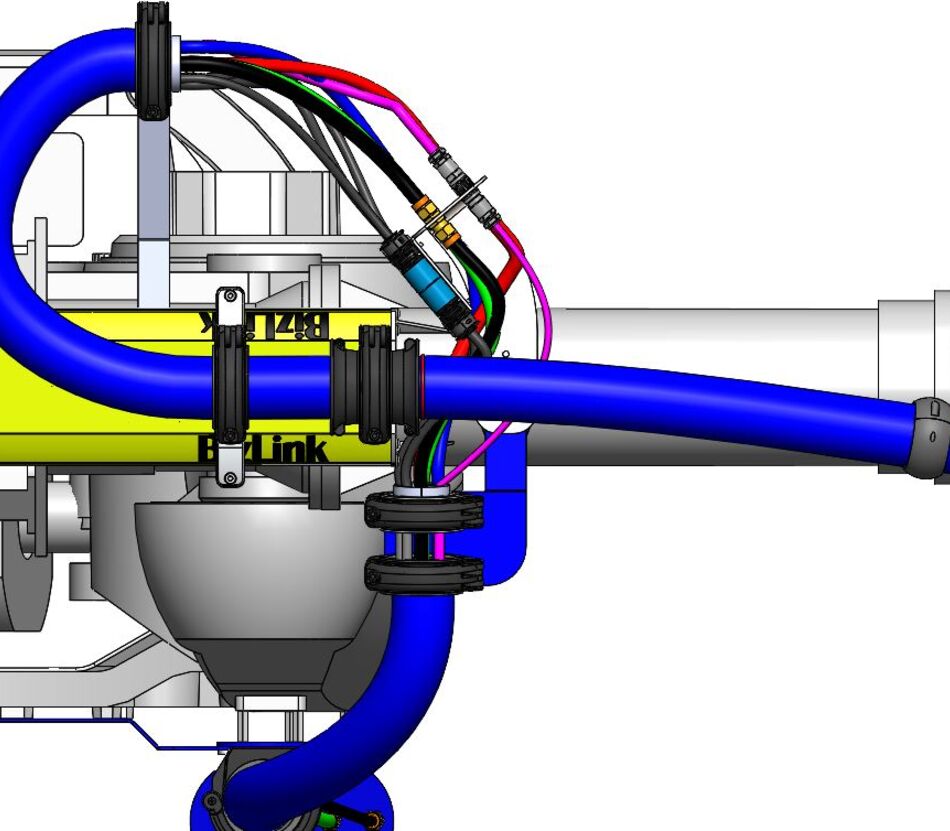
Top view of an industrial robot equipped with a BizLink LSH 3 retract system and robotic dresspack retract system and protective corrugated tube

7. Verify freedom of movement and clearance from peripherals of the entire LSH 3 system.
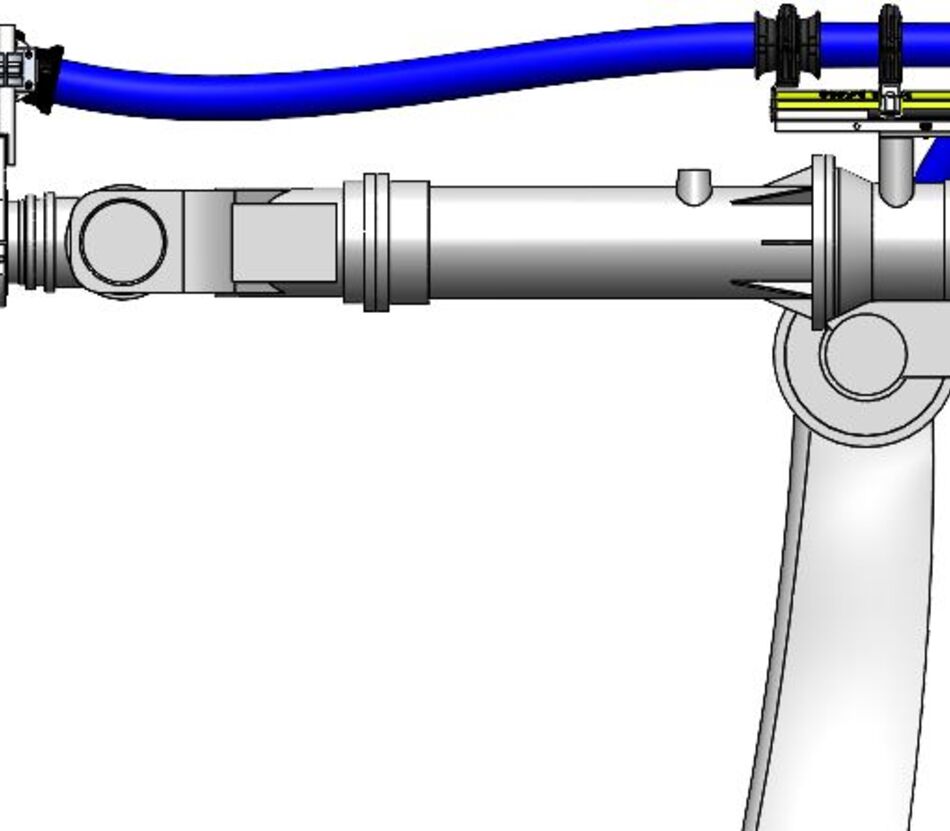
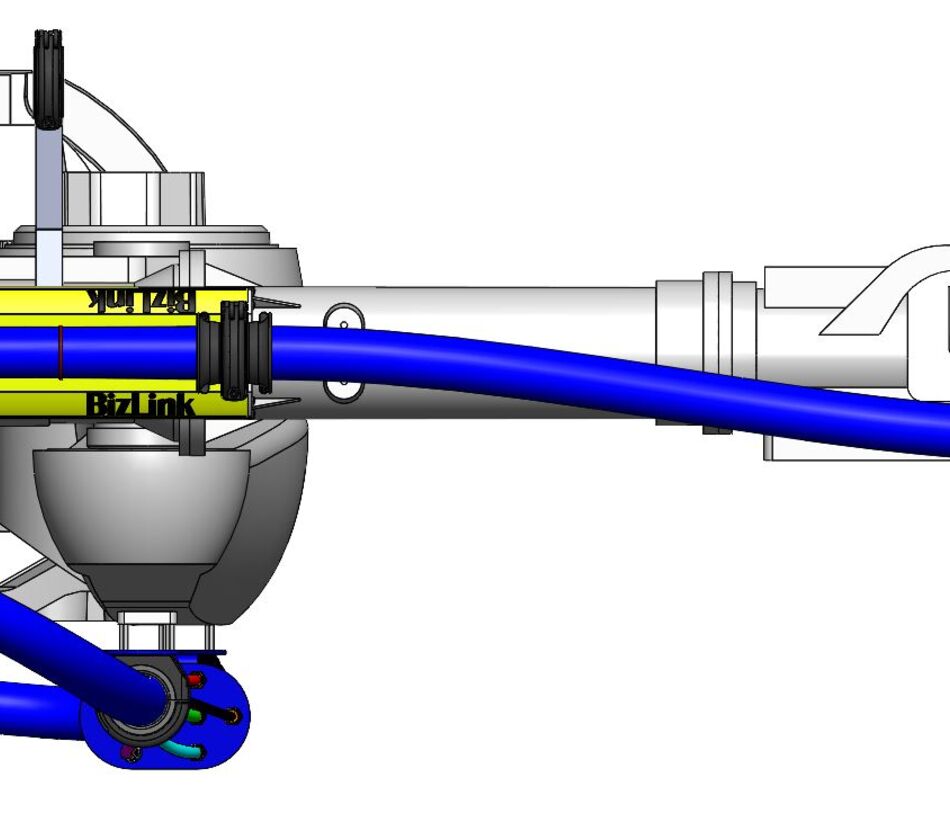
Side view of an industrial robot arm with BizLink LSH robotic dresspack and protective corrugated tube
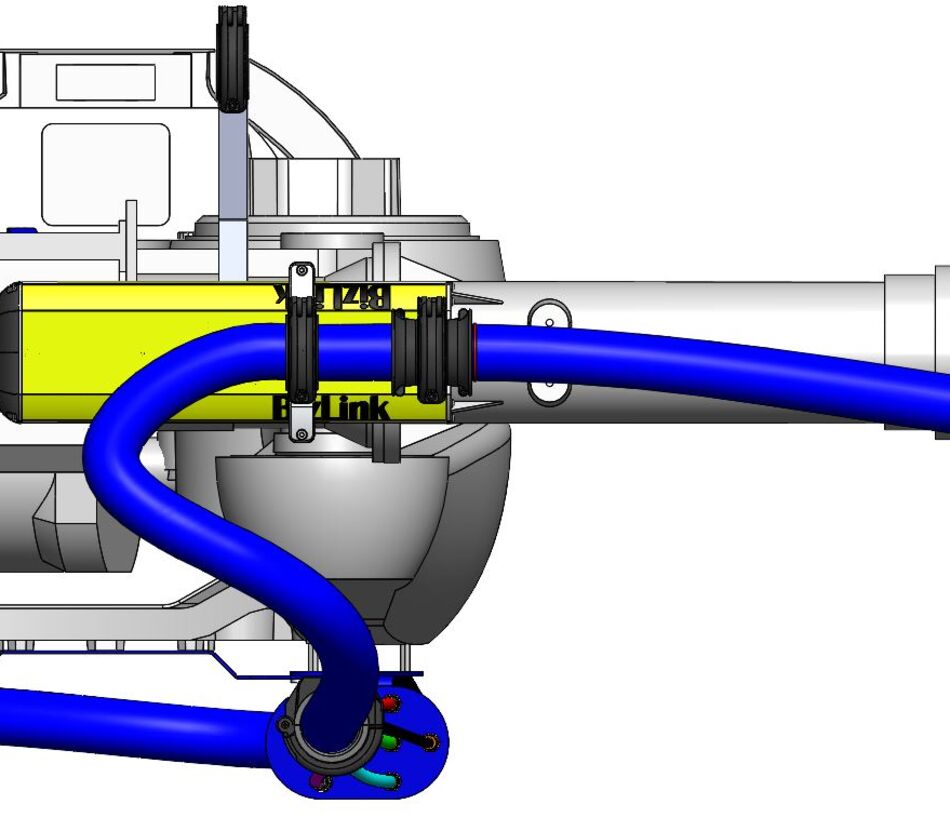
Top view of BizLink LSH robotic dresspack showing an alternative routing of the protective corrugated tube around the robot

Disclaimer: Our warranty for failure-free operation of this product relies on the correct assembly and operation thereof in compliance with these operating instructions. It is imperative that these operating instructions are available and understood by the responsible service personnel. We do not accept liability for damages and malfunctions due to non-observance of these instructions.

Contact